I know i shouldn't post about this but i feel i have to.
Today i officially quit being an Admin and a member of MAC Forums/MAC Community. I don't have any grudge on the group, so far everything is doing great around there. So don't misunderstood why i'm leaving.
Having a stressful life right now and being an Admin on the forum is not a really good idea. So as of now i don't have any Filipino groups that i belong with.
I will be more active in zerog foums though because i feel really relax over there. I might lose some viewers on this blog but i really don't care, not that i don't care about those people but it's more like it really doesn't affect if they view here or not. I enjoy this hobby a lot and i do hope the viewers that is viewing my blog will learn and enjoy the hobby with me.
Till my next update guys/gals!
SD Guntank
Old work of mine - this kit is the first one i tried to apply weathering using the sponge technique.


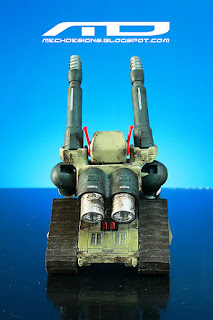


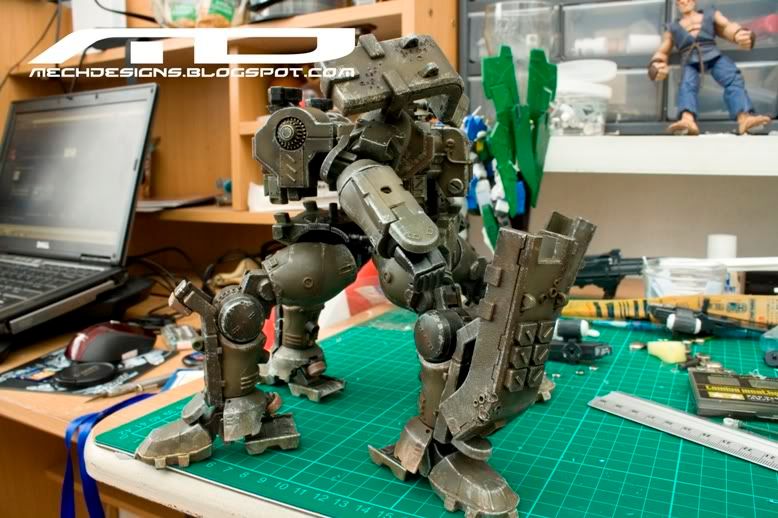
TIEREN MAMMOTH - WIP 5
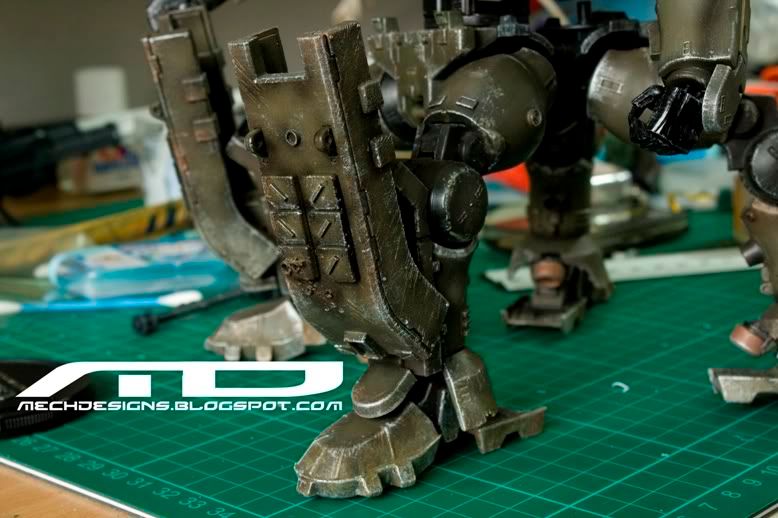
update: This is my first time doing serious weathering and i thought it would be nice to try dry brushing.
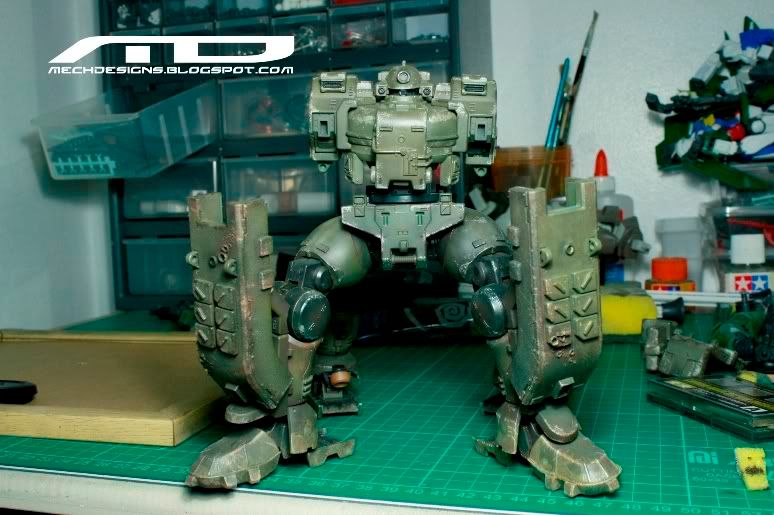
Added some post shading on the Leg guards armor to add depth and i added also some dry brushing as well.
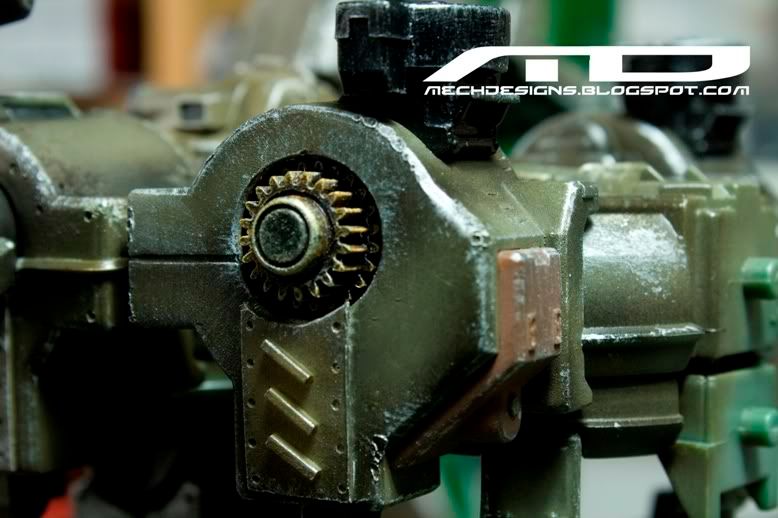
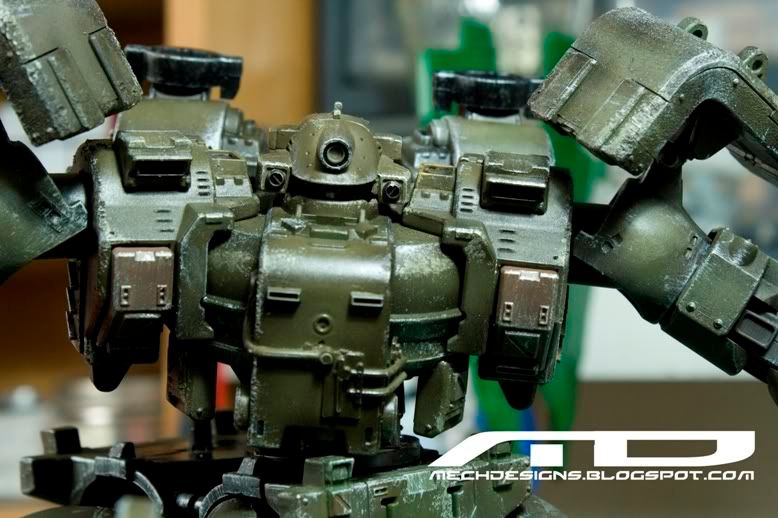
on the back shoulder where the big two cannons are attached. I used a tamiya gears to create an image that it is a working gears to move the two cannons. On the gears i use dry brushing as well and added Tamiya weathering(Orange rust) to get that look.
I added some post shading of black on the whole kit as well.
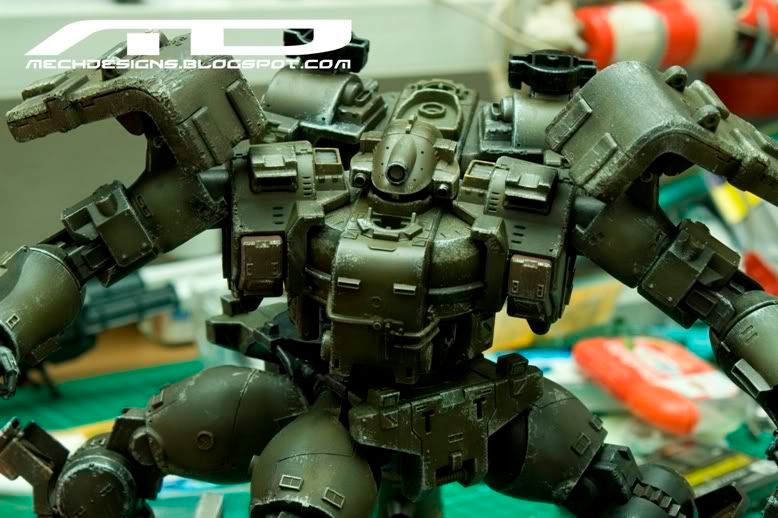
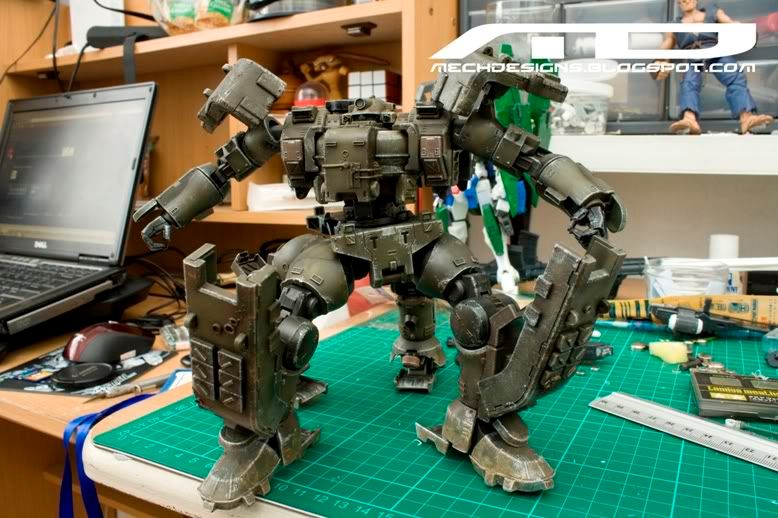
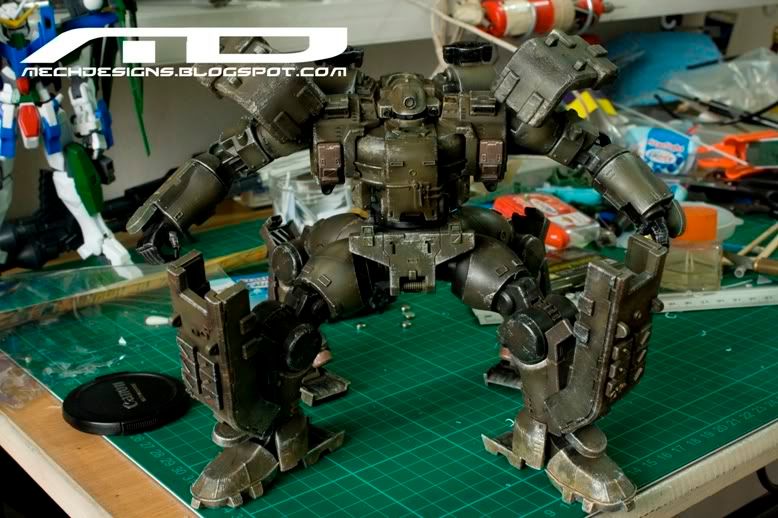
Two big cannons and two arm guns are left and this kit is completed. Until the next update! :)
Added some post shading on the Leg guards armor to add depth and i added also some dry brushing as well.
on the back shoulder where the big two cannons are attached. I used a tamiya gears to create an image that it is a working gears to move the two cannons. On the gears i use dry brushing as well and added Tamiya weathering(Orange rust) to get that look.
I added some post shading of black on the whole kit as well.
Two big cannons and two arm guns are left and this kit is completed. Until the next update! :)
Preparing your sand papers

We're doing this to avoid wasting a lot of sand papers and making a messy looking sand papers just like below. (look a those edges). yeah lesson learned.

first here are the sandpapers i just bought (if you have seen my tips on organizing your paints these sand papers where bought on the same day.)
grit: 400 and 1200

Now you will need a ruler and a cutter or art knife. I use an aluminum ruler because i might end up cutting the ruler as well if use a plastic type. Also i suggest you use a cutter instead of your art knife or you will end up having a super smooth edge on the blade that couldn't cut anymore... T_T silly me.

Now fold the sandpaper in half.

Align the ruler on the folded intersection and just run the cutter on it just like what you see below.

continue on folding and cutting the sandpaper until you end up on a small size sand paper.

the size of this is very ideal because it also an ideal size if you're going to use it as a sanding stick.


Now to prepare the sanding stick you will need a Popsicle sticks and glue.

put the glue on the stick.

then attached the sandpaper wait for it dry then do the process on the other side.

Now you have a sandpaper and a sanding stick. :)

Happy Sanding... lol
Alternative Beams/Stick container


Here is a PIK-NIK canister (255g) The height and diameter of this canister is ideal for holding plastic beams, sticks, etc. If you're canister is as narrow as Pringles or LAYS canister, it's more likely to stumble from time to time. but this one does not.

After eating all the PIK-NIK inside (I'm quite full now :D) and of couse clean it up first. i put all of my plastic beams, balloon sticks, part holders and all other stuff i can think of.

Another way to clean your table :)
note: if you can't find PIK-NIK in your place try looking for other products that have the same height and diameter. :)
you can also paint the canister if you like. And if you have great eyes you just had a preview of my next project. :)
Paint box storage

 .
.Going into Handyman (Robinson's Ermita) i saw this plastic fortune box (mainly used for money storage). And since i'm already in the Hardware store i decided to buy some sandpapers as well, i'll post a tutorial on how to prepare your sandpapers up next.

Size comparison with my old paint storage.

Actual size comparison with Tamiya Paint (Big and small)

Size comparison with Gaia paints and with my extra paint bottle

Inside of the container is quite big. one column can occupy two small tamiya paint bottle.


All other stuff i have are put on the other container that i bought.


Now i have a more organized and cleaner table. :). Being organize can really help you to clear your mind and you can think of more ideas. Hope to see your table organize soon as well. :)
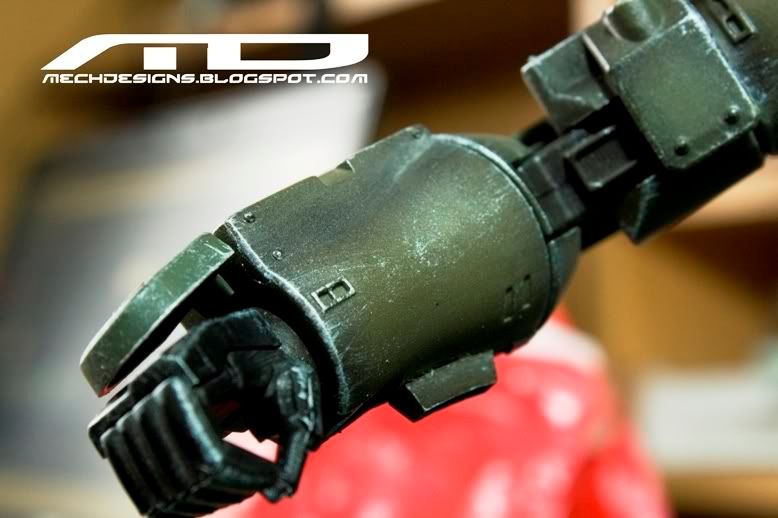
TIEREN MAMMOTH - WIP 5
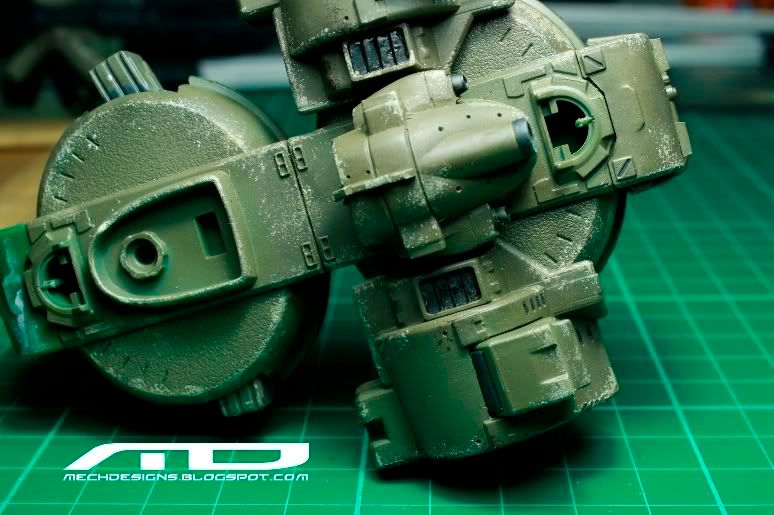
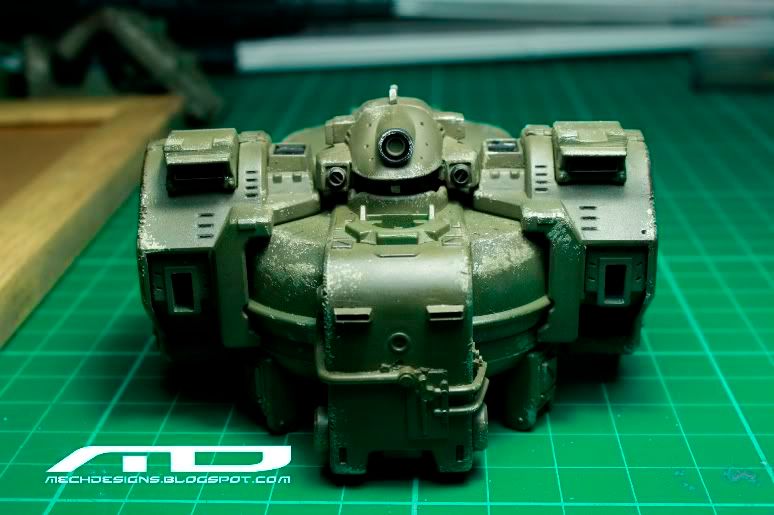
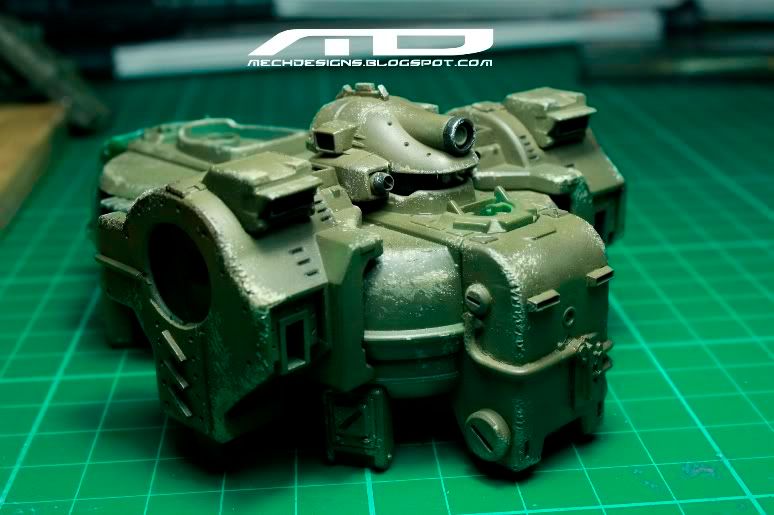
update: started painting and weathering on the upper body
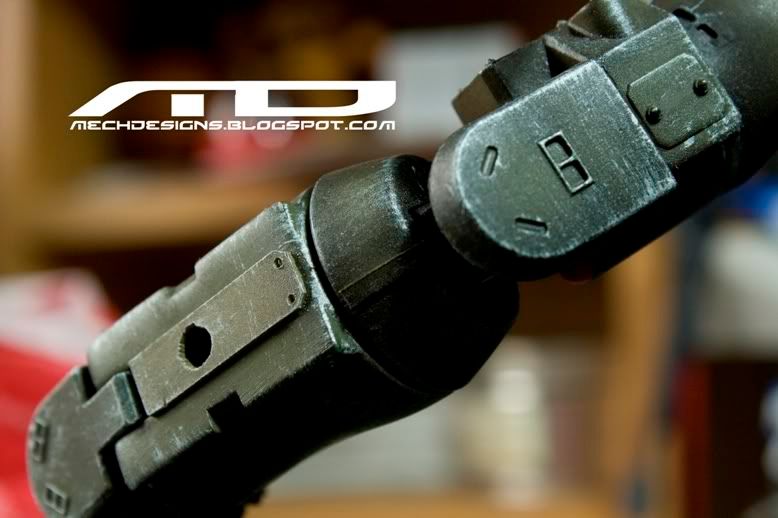
Modified head and added details on the upper body

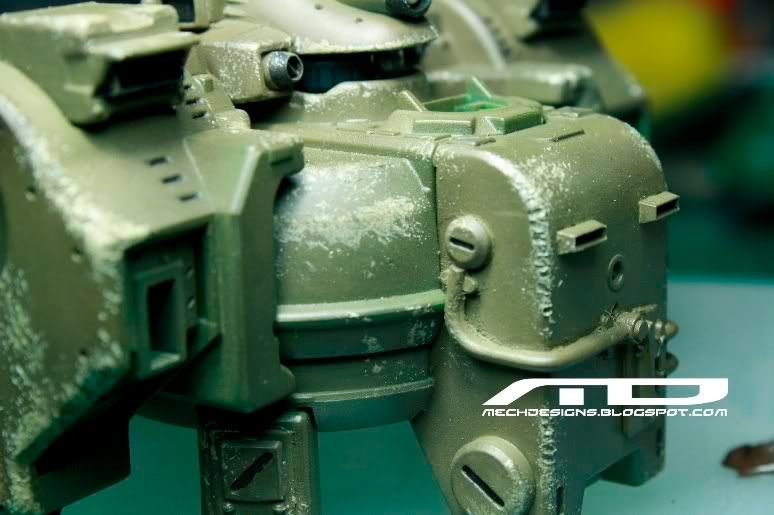
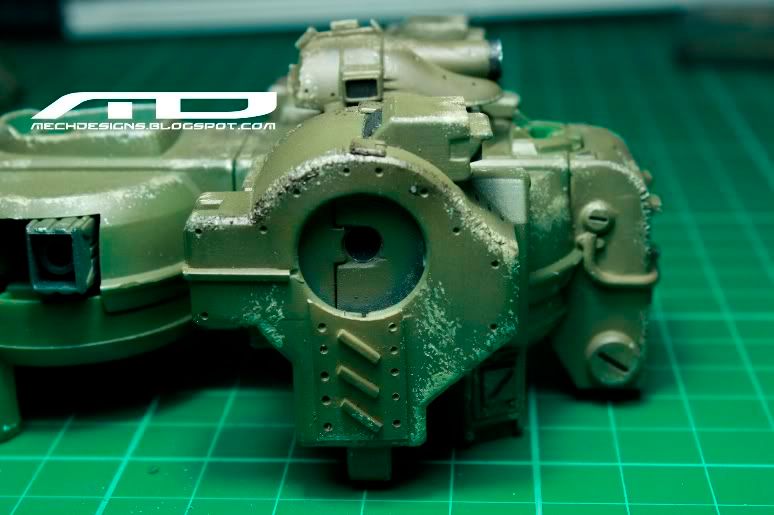

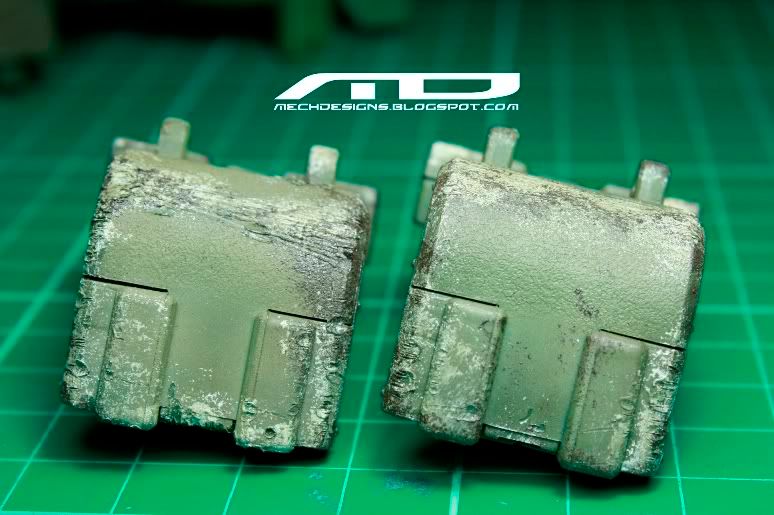
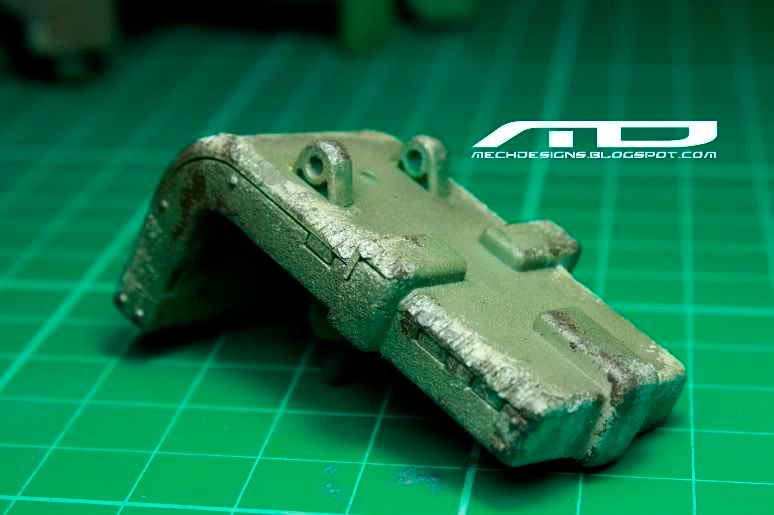
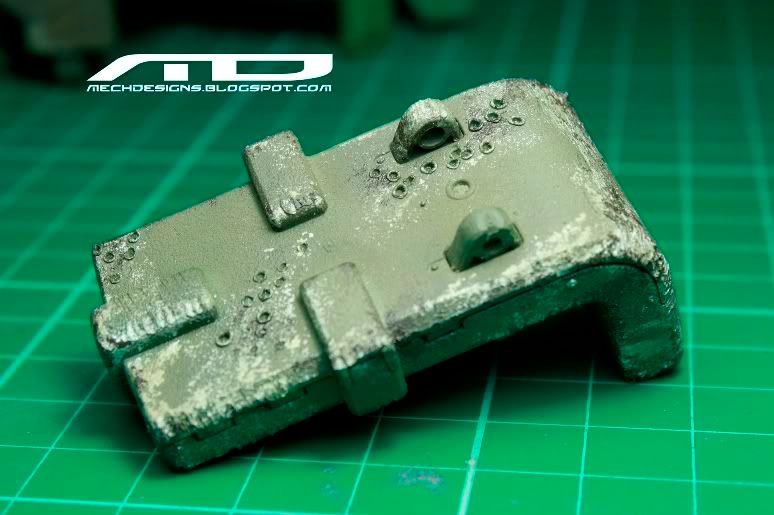
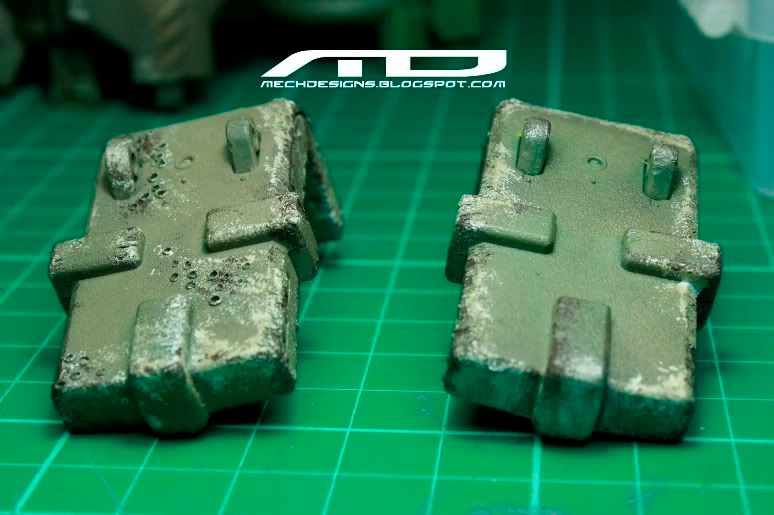
shoulder guard update.
Added moderate to heavy damage on the shoulder guard showing scars and scratches will add more paint details on the next update.
Modified head and added details on the upper body


shoulder guard update.
Added moderate to heavy damage on the shoulder guard showing scars and scratches will add more paint details on the next update.


Subscribe to:
Posts (Atom)