Hope everything goes well. wish me luck!
ok here we go.
first to make some panels i usually print the kit parts in black and white and sketch from it, much easier to redo on paper than the actual part itself in case of mistakes

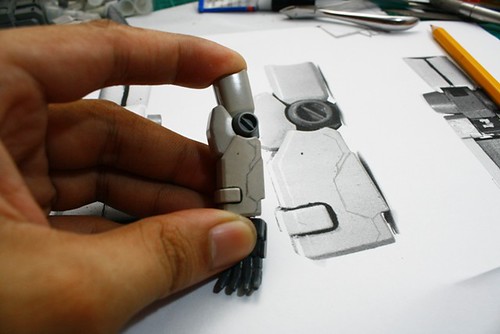
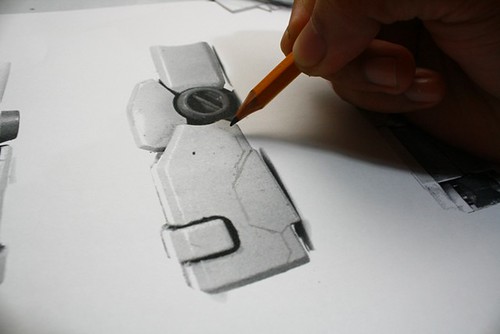
ok with the update. it's just a simple pla plate, drill hole, panel line setup

able to finish one shoulder as well

update:
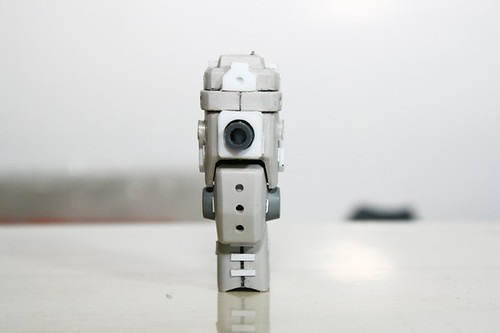
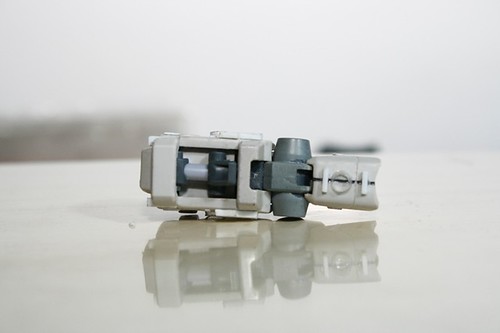
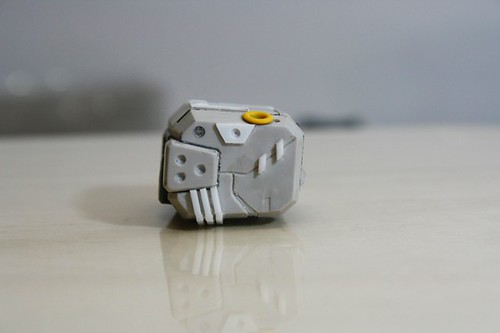
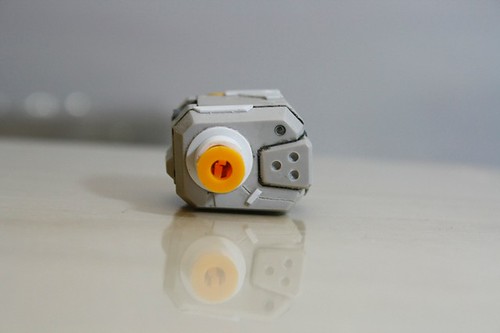
i skip the other arms, and started on the head. (really jumbling things up.)
though i hate the cost of the MG Exia Ignition mode for the repair parts. i decided to give a repair/terminator feel on this GP02a. want it to be nasty, big mean freaky machine. :D
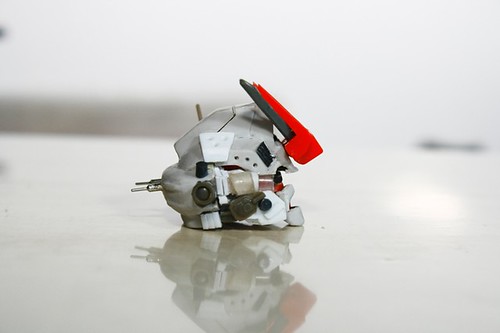
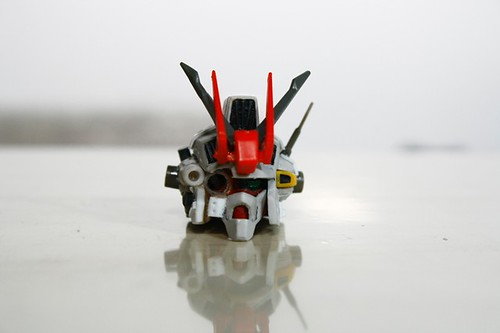
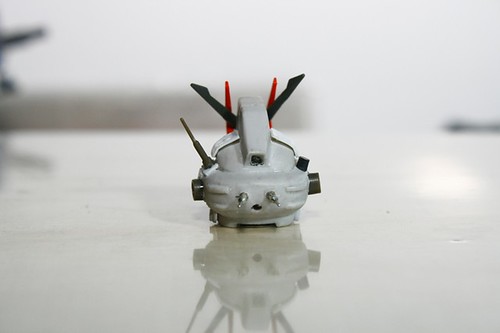

what do i love on this head: :wub: though in some small point you might have think of it to be sealed. well it's not :) will post pics soon how the head simply disassemble for easy LED replacement just in case it will get a light problem.
No comments:
Post a Comment