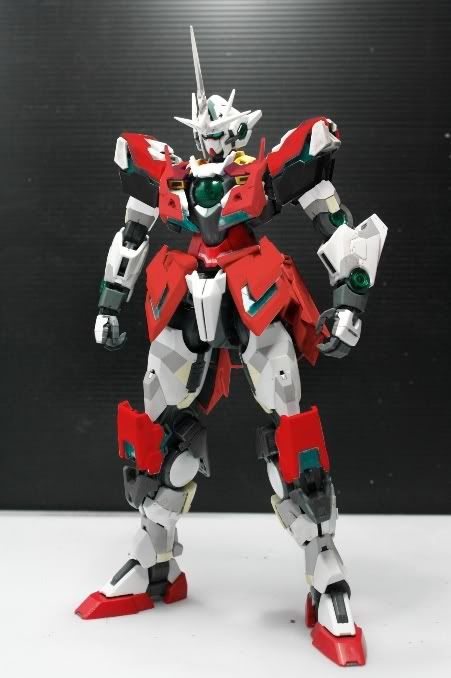
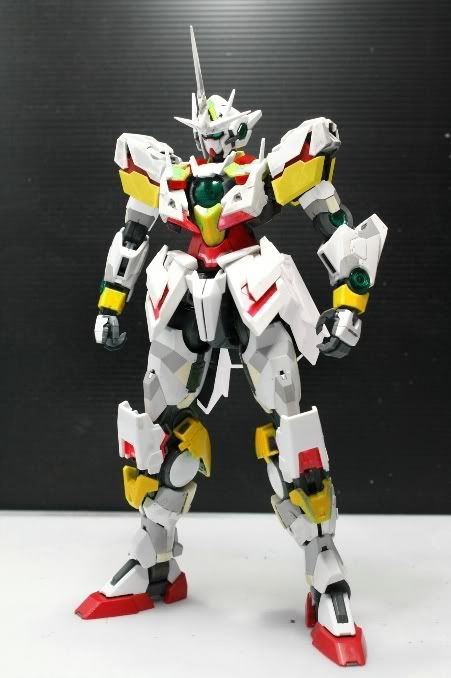
00 Uniqx
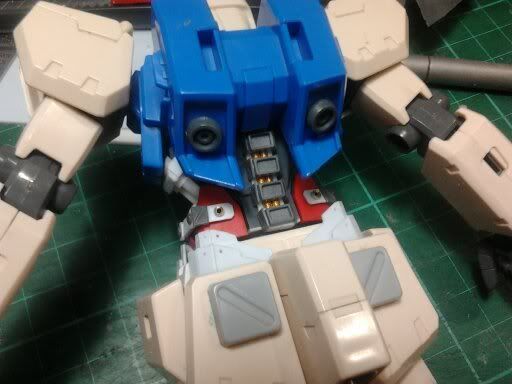
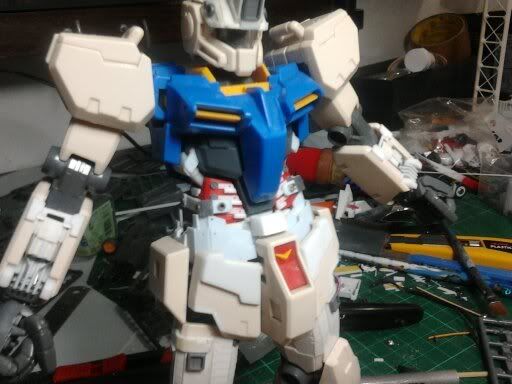
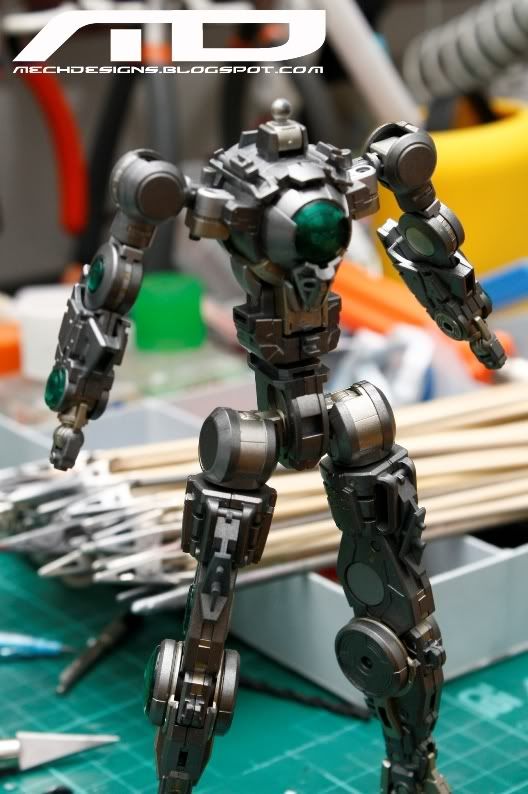
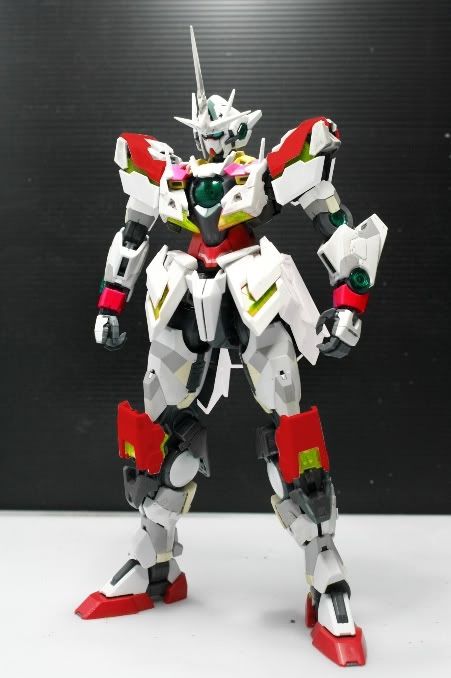
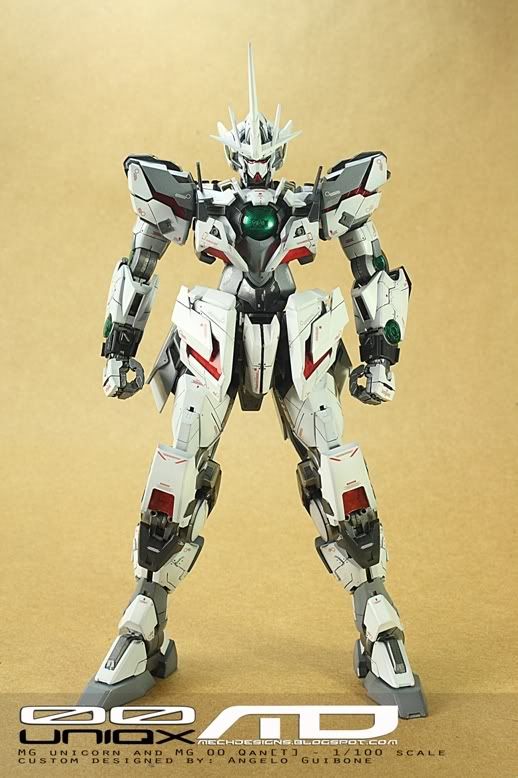
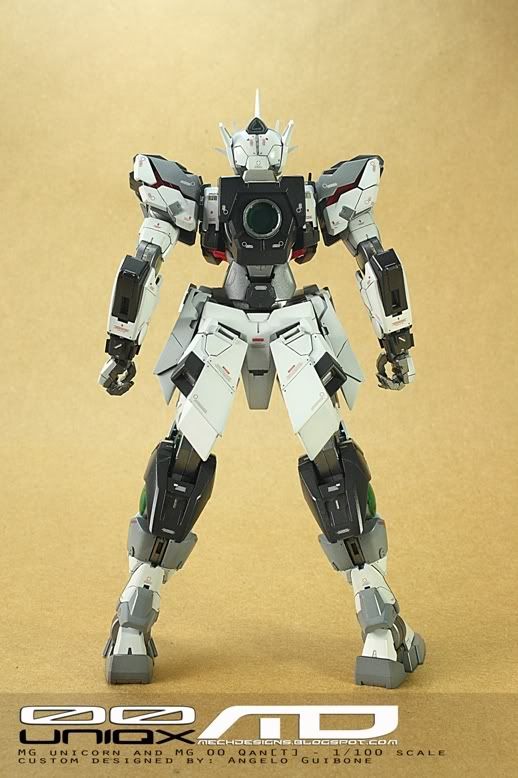
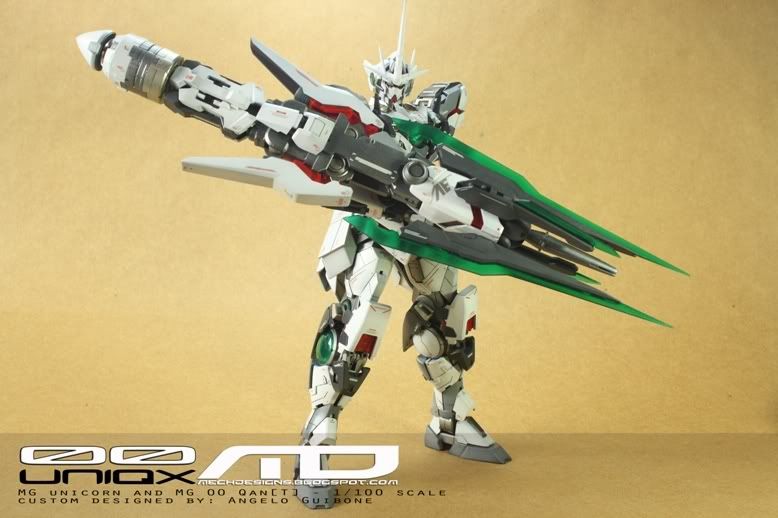
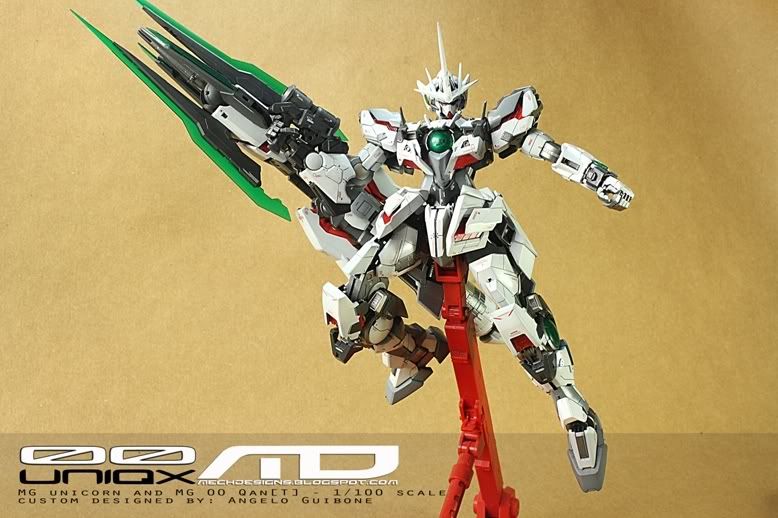
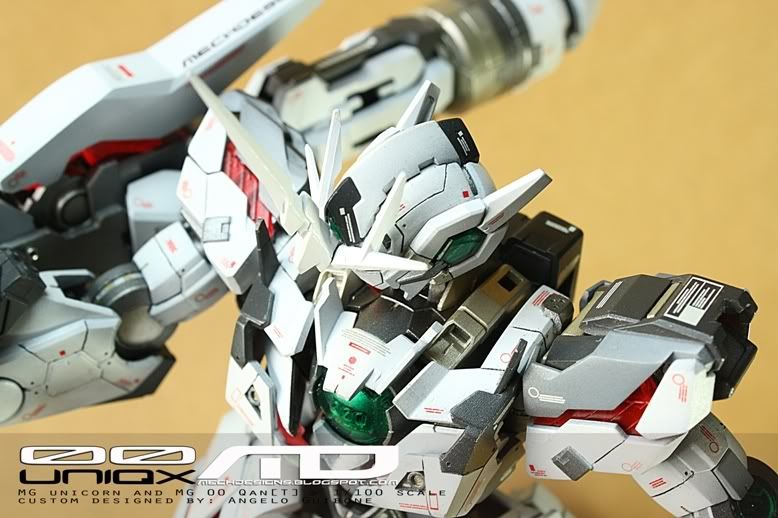
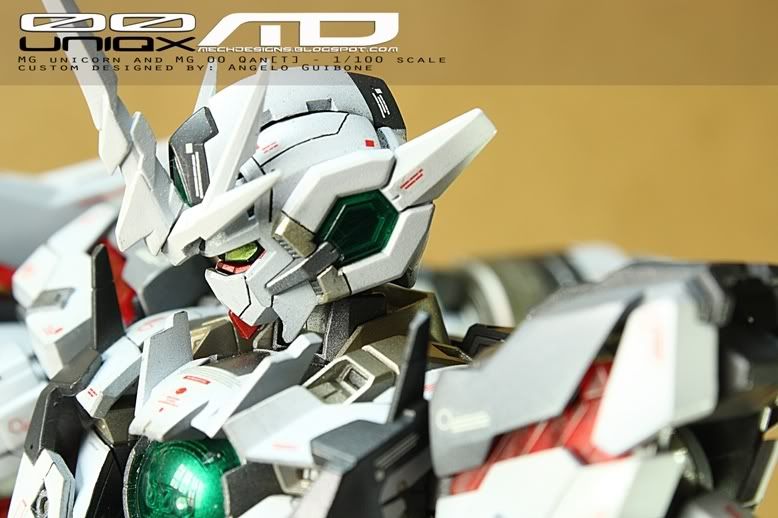
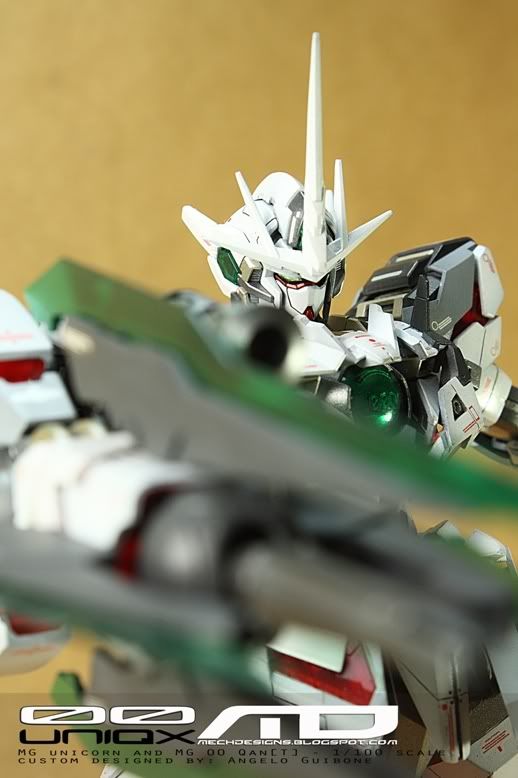
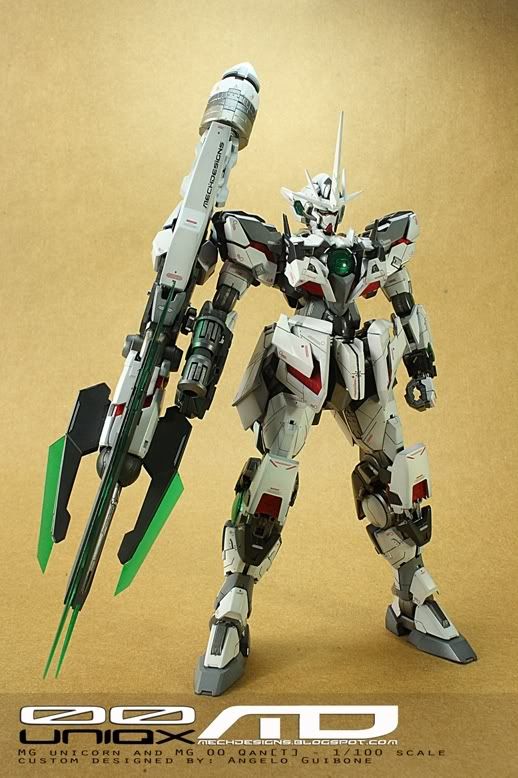
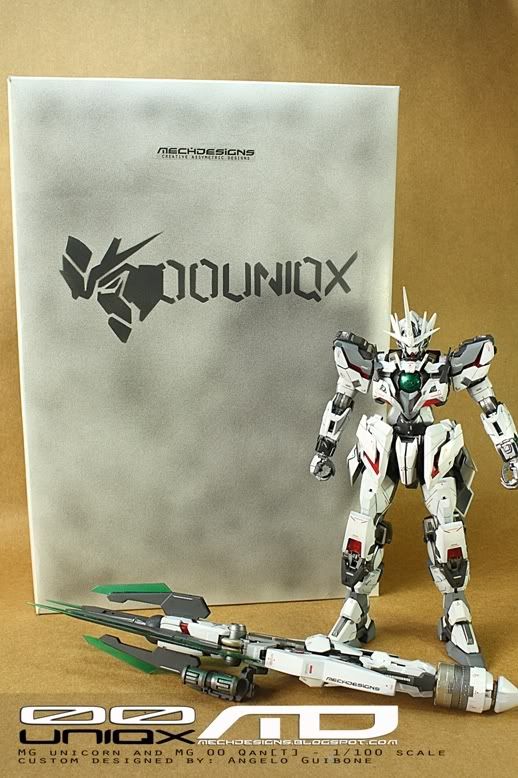
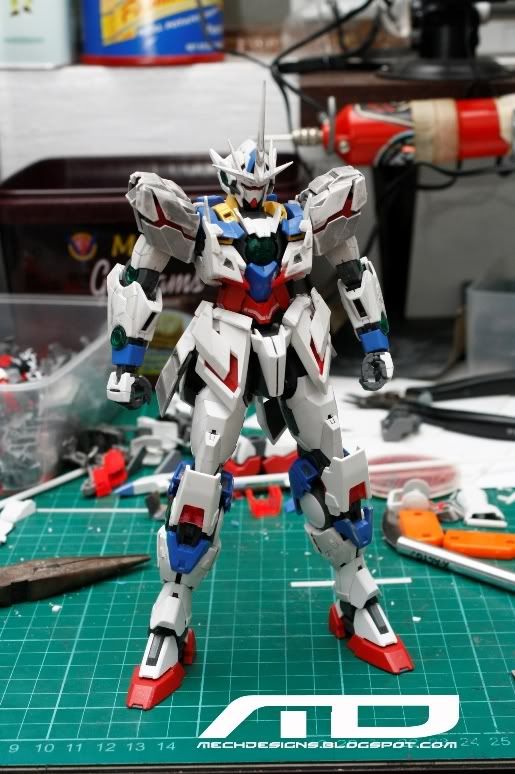
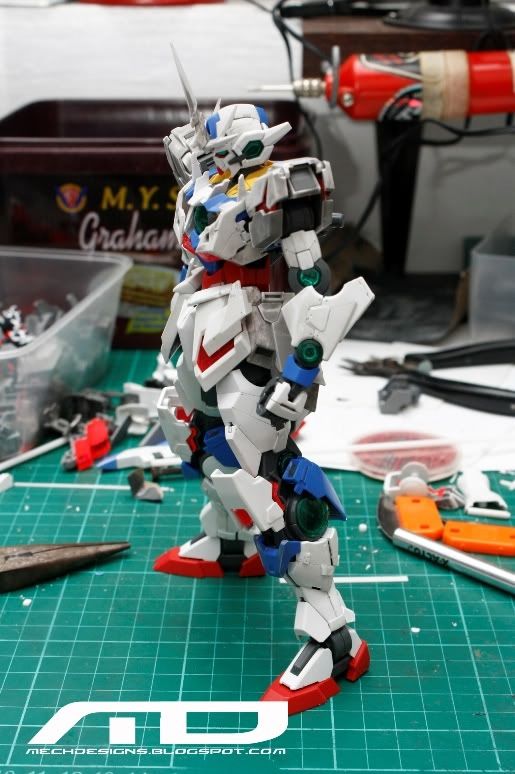
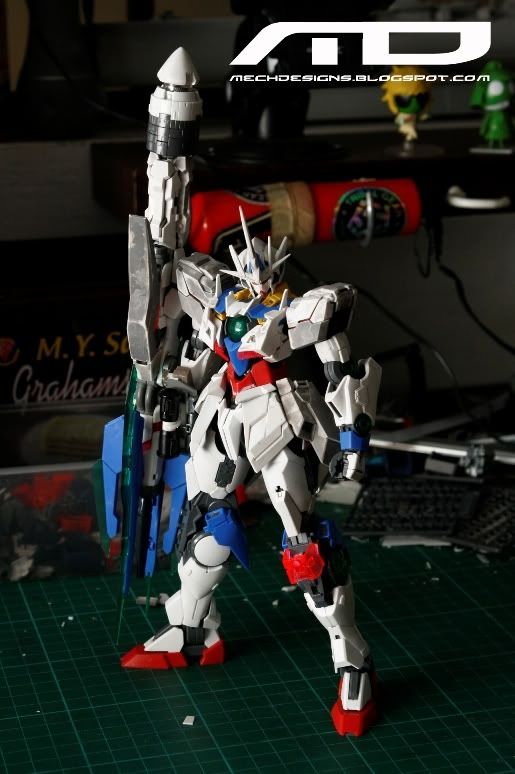
Finally able to complete this commission work. This a mush up concept of MG 00[Q] and MG unicorn. Just by looking at the two different kits this is already a challenge because of the scale and size issue of parts. Luckily my imagination kick-in on this very well.
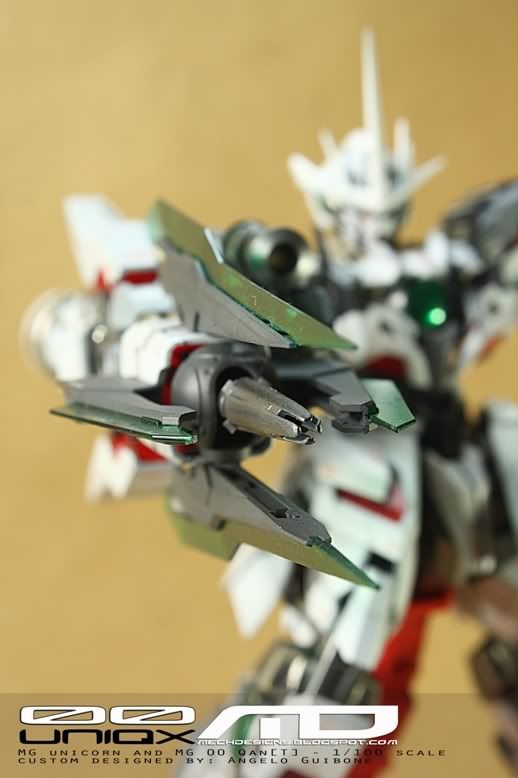
The kit is painted with Lacquer and Acrylic paints and enamel pin washes. This supposed to be finish last year December but because of lack of available materials and the cold weather here during the build caused some delays.
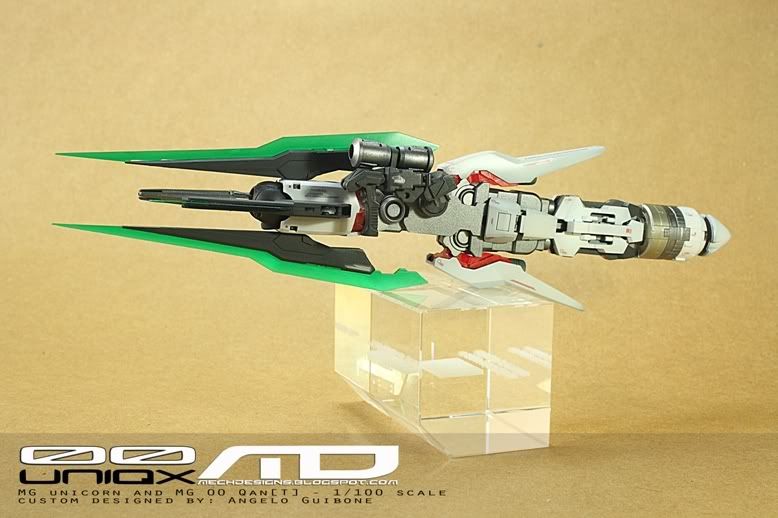
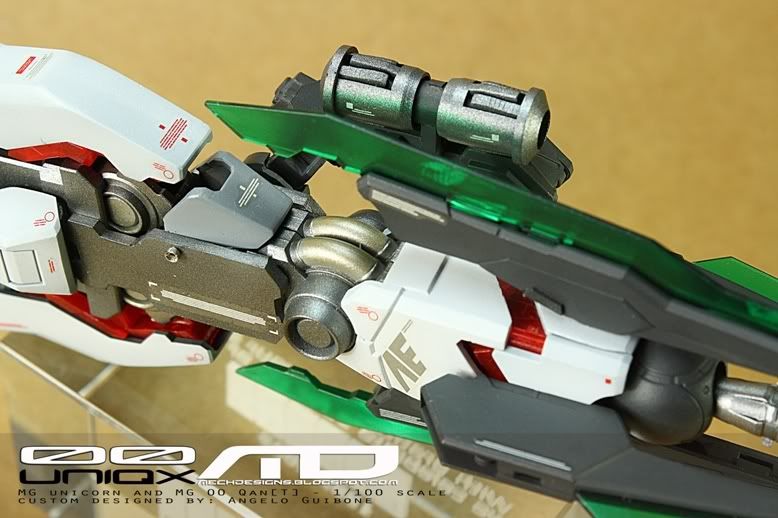
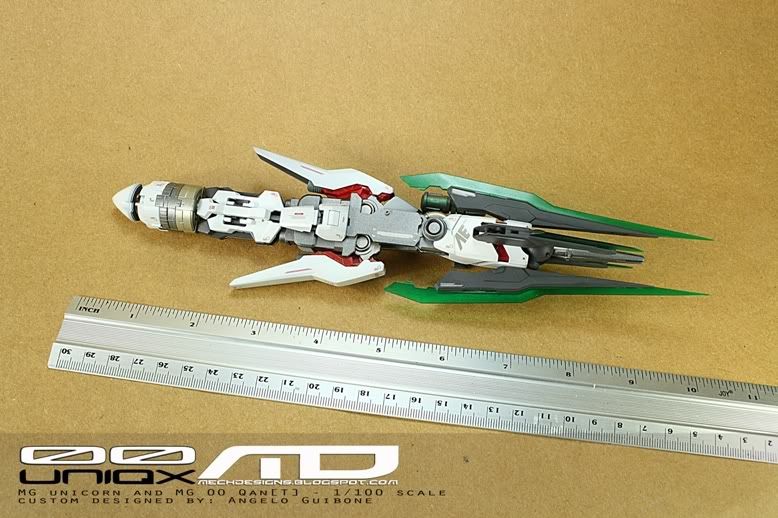
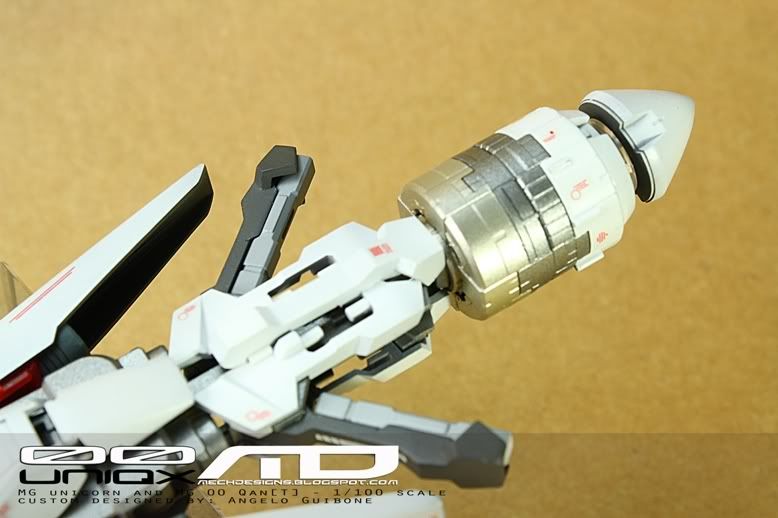
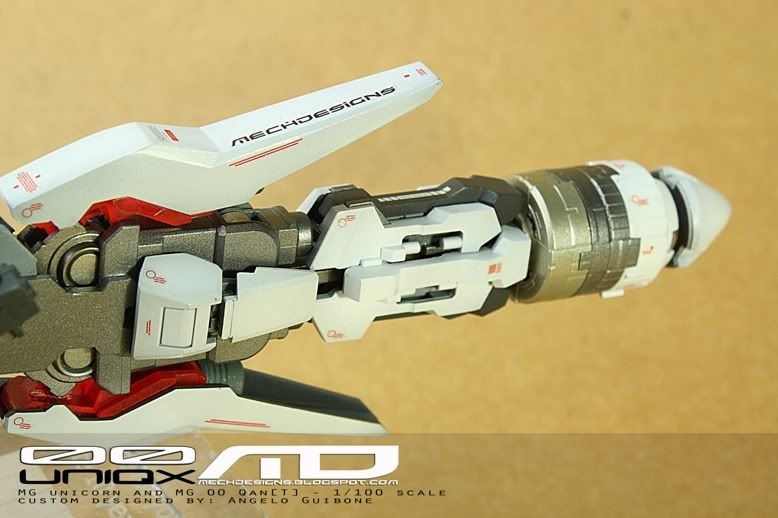
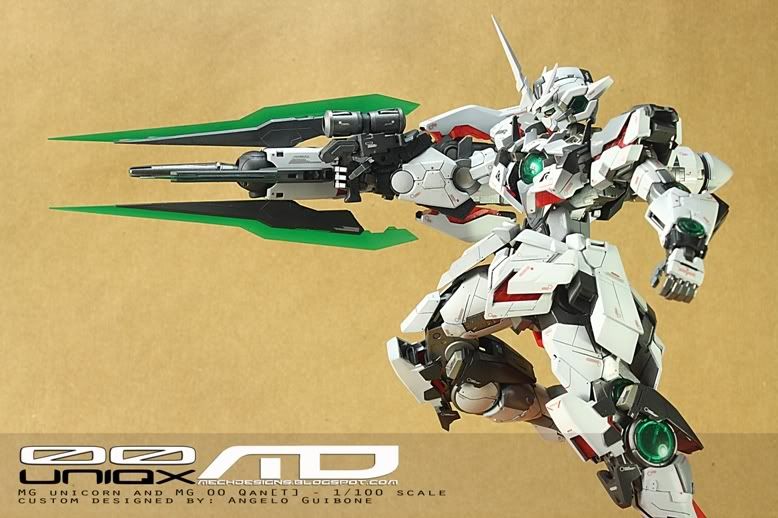
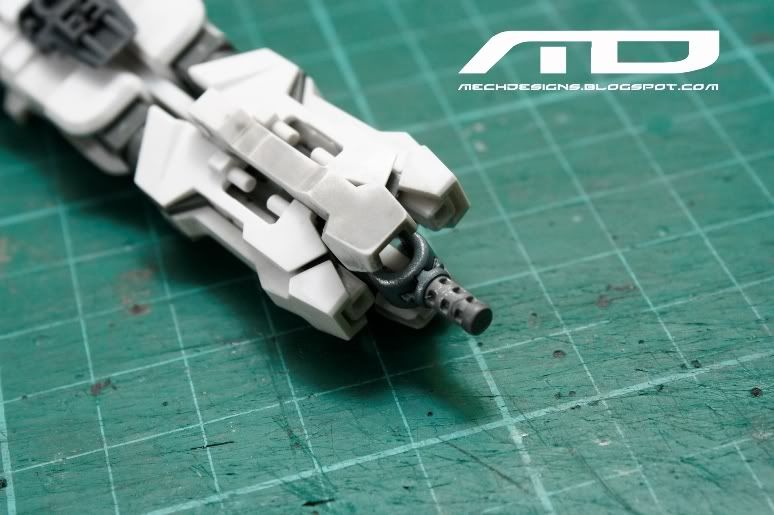
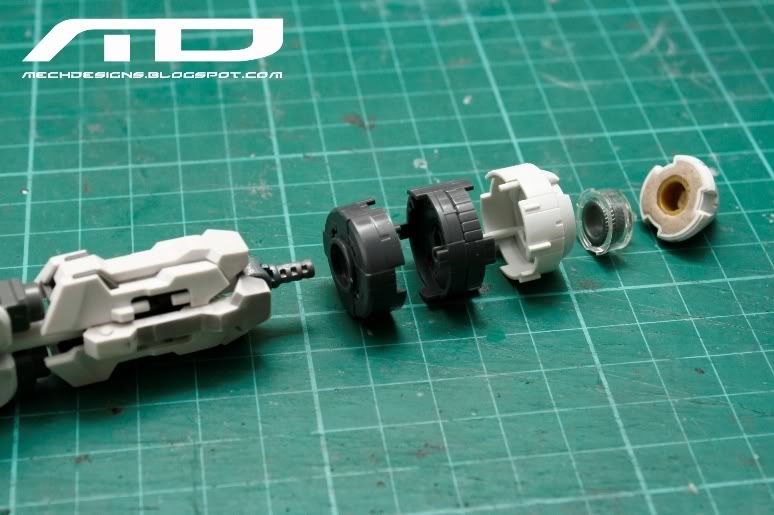
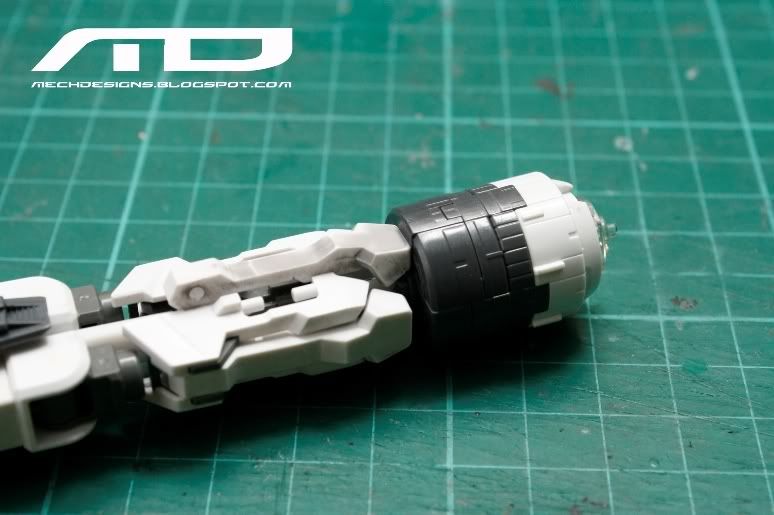
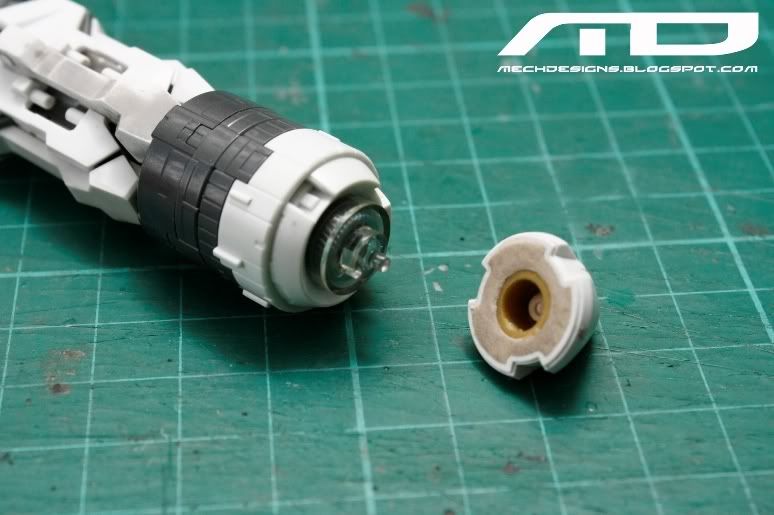
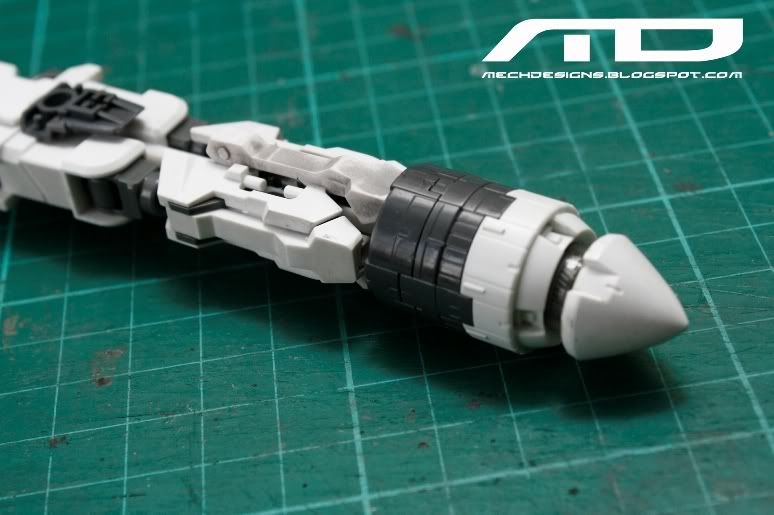
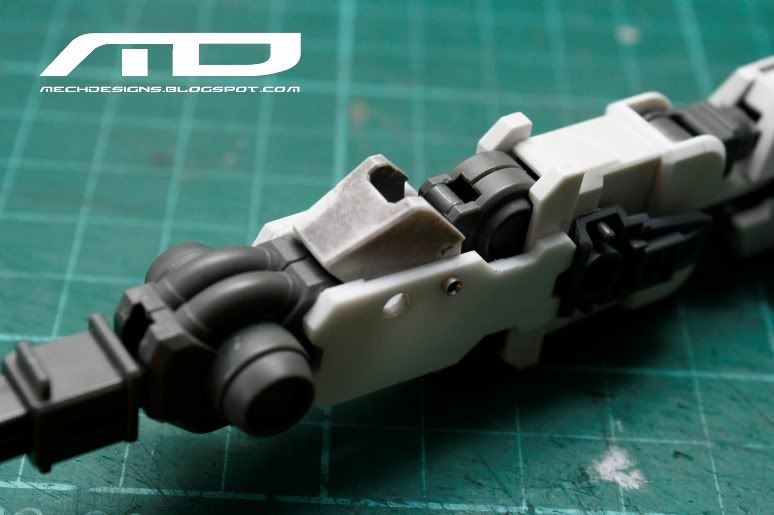
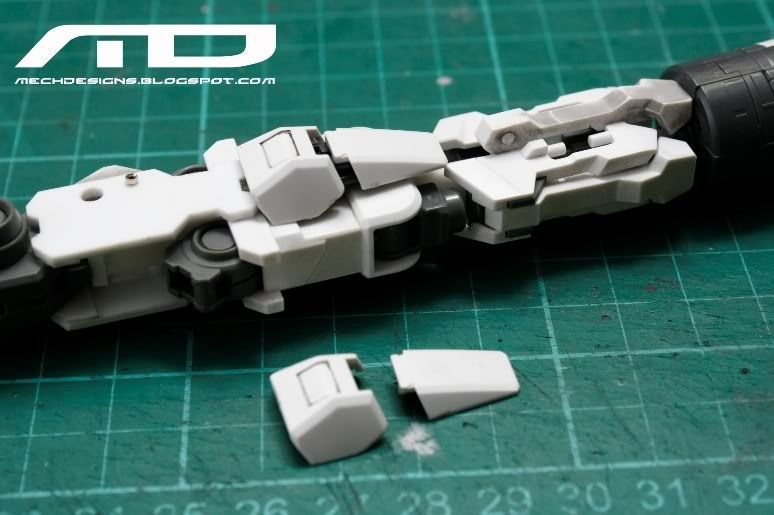
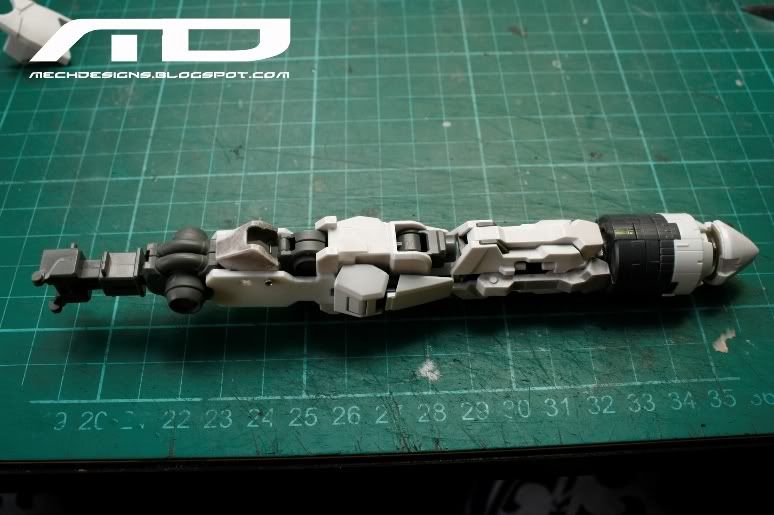
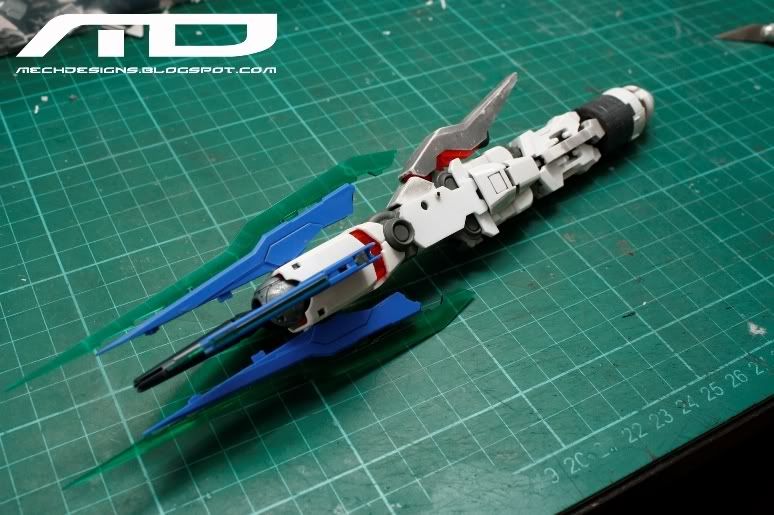
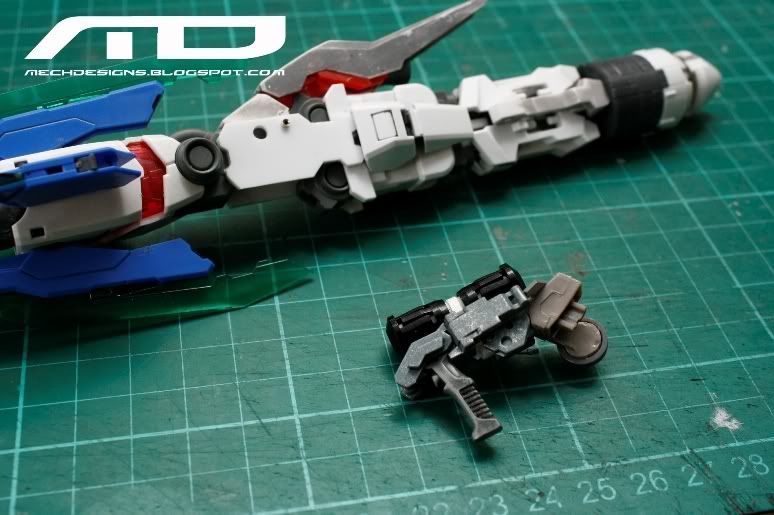
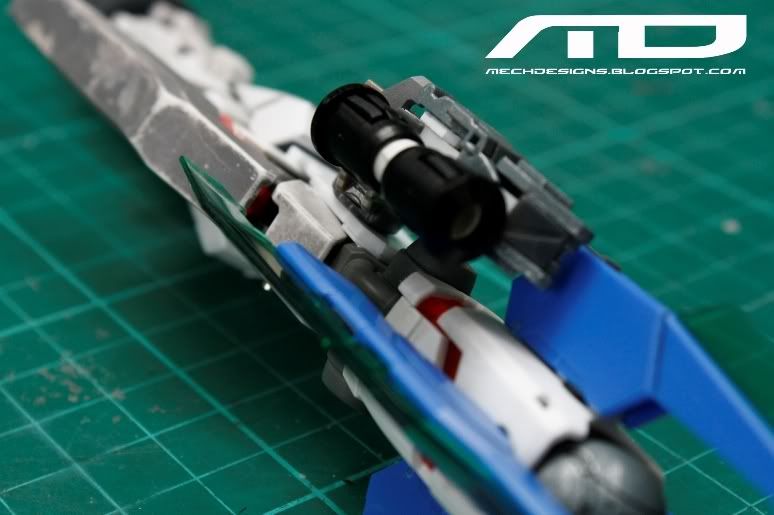
Just like most of my works this kit have a BFG the GUNNILDR Espada (Gun Sword). It's 10 inches long and holds a lot of fire power using Pshycho frame technology with GN drive (Completed by using Unicorn legs and adding MG 00Q parts.
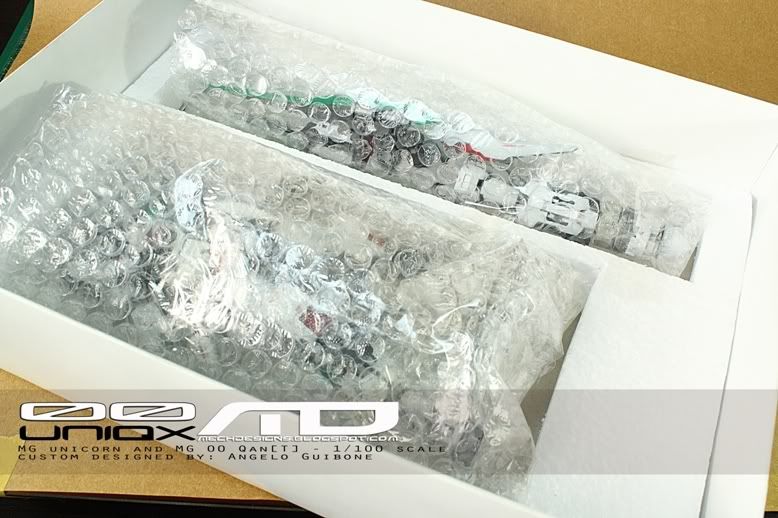
On this build since it's a commission i build a box for it specifically for the uniqx. It's simple but still it completes the whole package.
Today i fulfilled again one my childhood dreams... create and sell my own created model kit. So here are the photos.
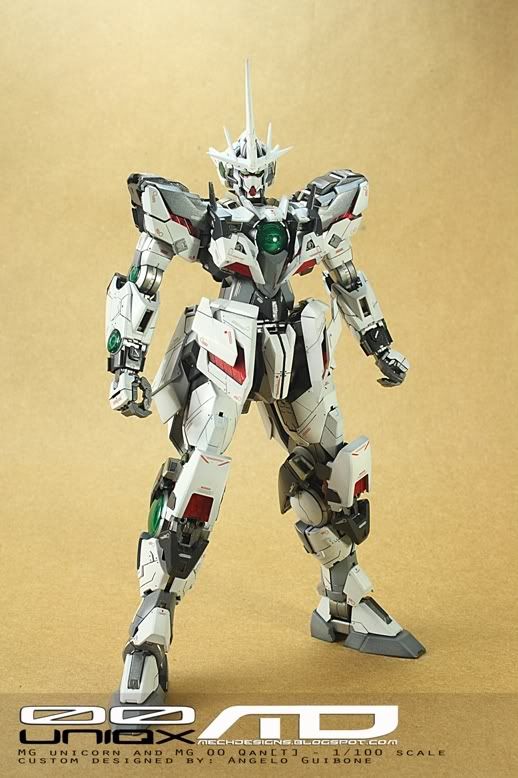
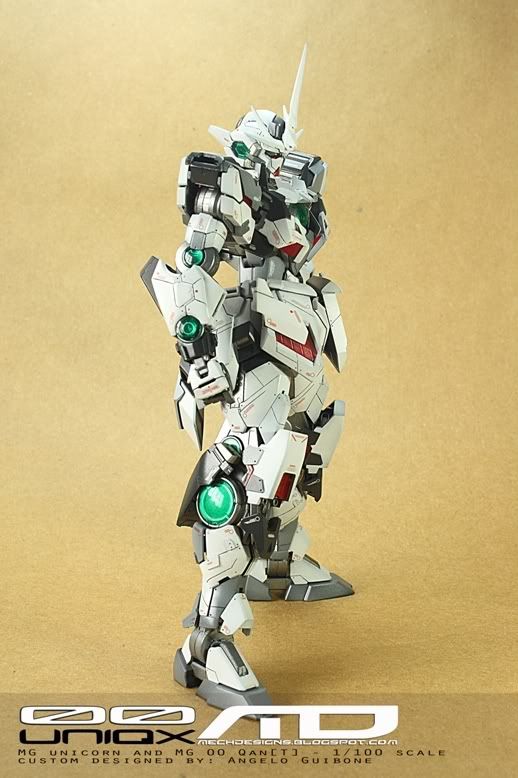
GUNNILDR ESPADA
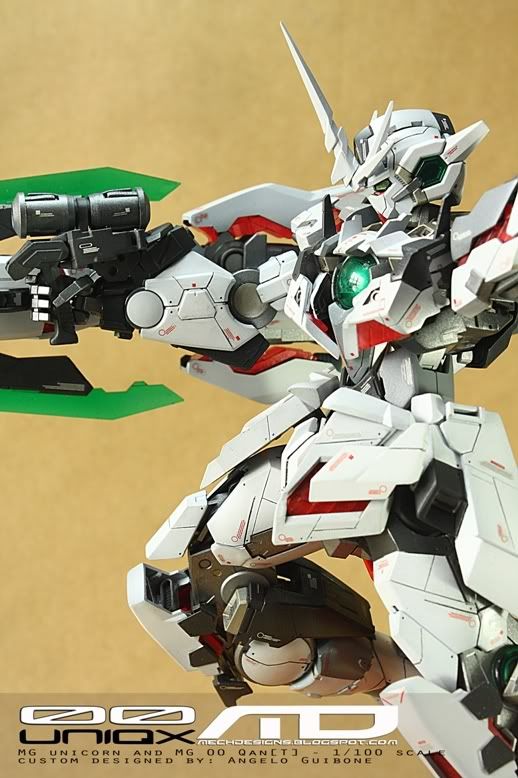
The kit is painted with Lacquer and Acrylic paints and enamel pin washes. This supposed to be finish last year December but because of lack of available materials and the cold weather here during the build caused some delays.
Just like most of my works this kit have a BFG the GUNNILDR Espada (Gun Sword). It's 10 inches long and holds a lot of fire power using Pshycho frame technology with GN drive (Completed by using Unicorn legs and adding MG 00Q parts.
On this build since it's a commission i build a box for it specifically for the uniqx. It's simple but still it completes the whole package.
Today i fulfilled again one my childhood dreams... create and sell my own created model kit. So here are the photos.


GUNNILDR ESPADA


00 Uniqx Commision WIP VI - color scheme
00 Uniqx Commision WIP V
really small update:
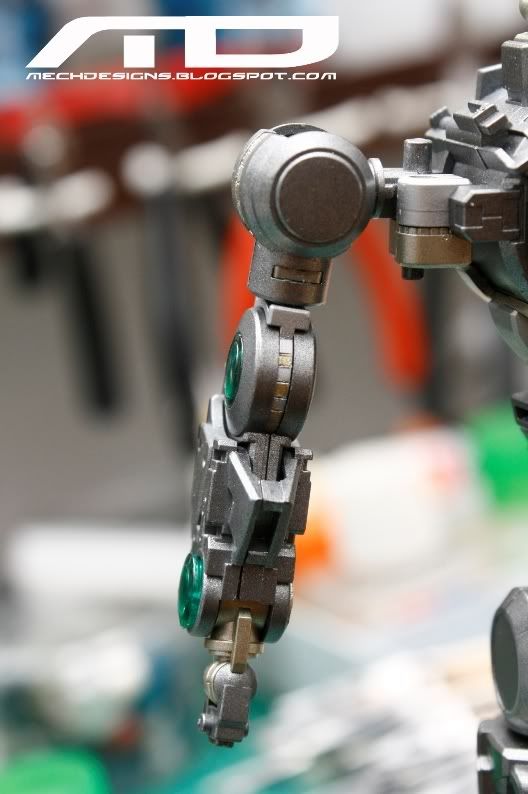
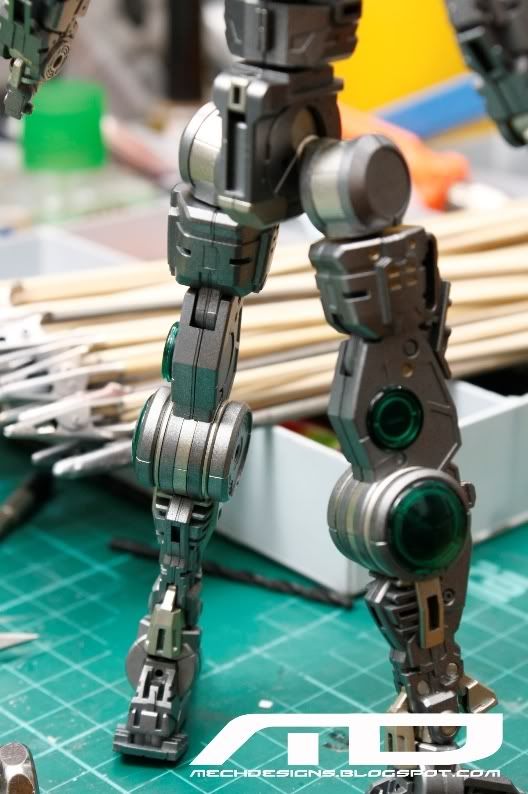
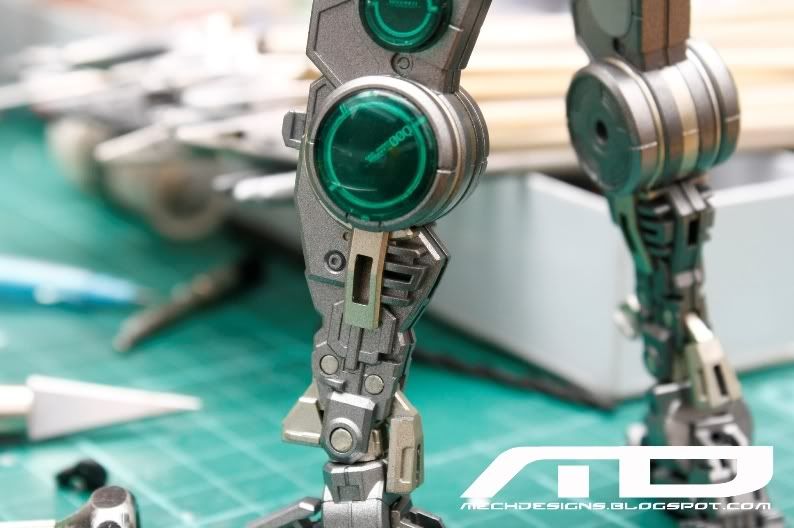
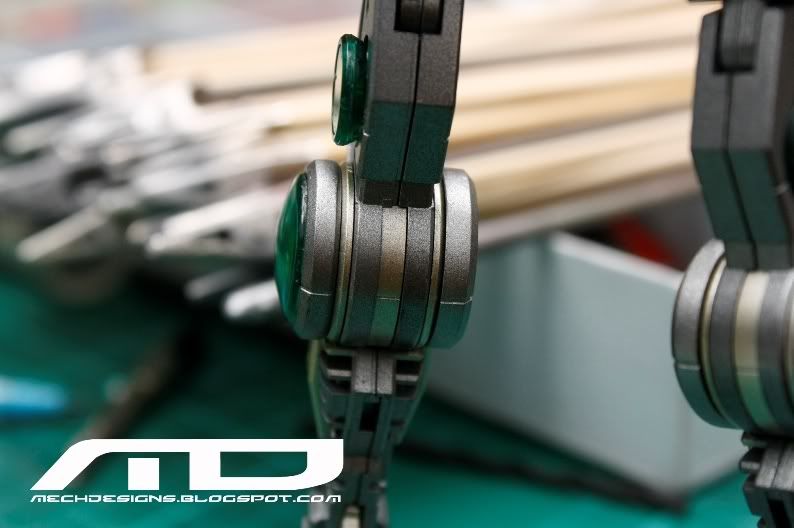
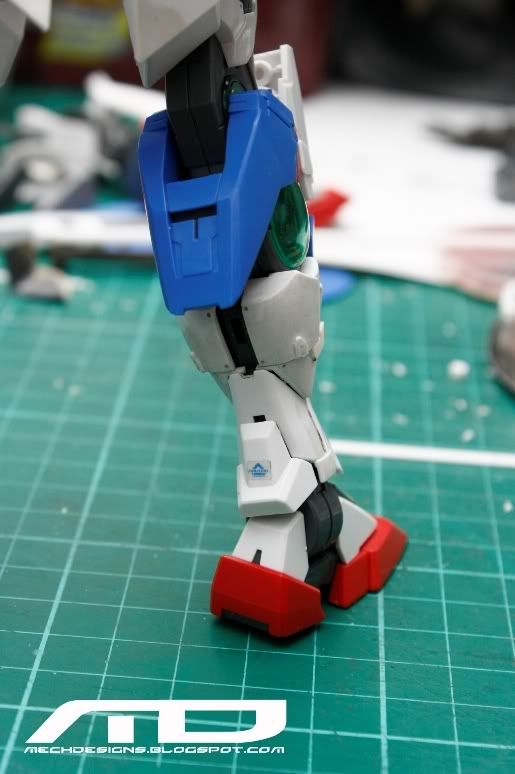
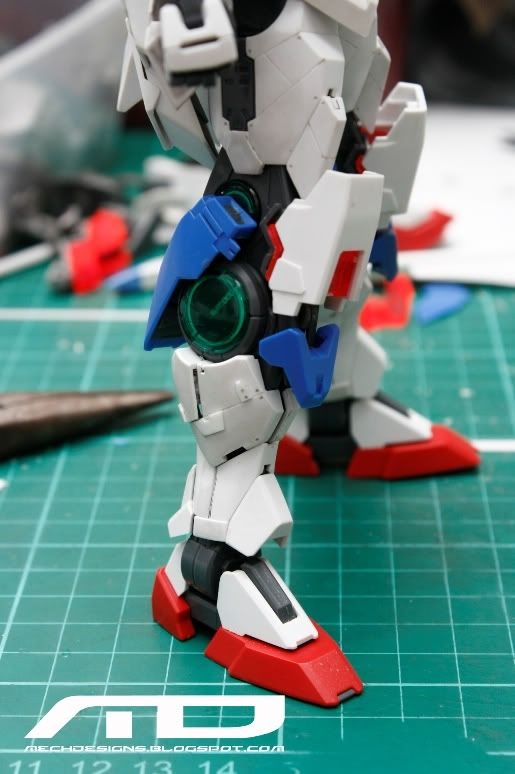
i just want to show to my client how the knees look like, after this i'll start on the other detailing stuff, then priming and painting this kit. :) This commission will be completed soon.
i just want to show to my client how the knees look like, after this i'll start on the other detailing stuff, then priming and painting this kit. :) This commission will be completed soon.
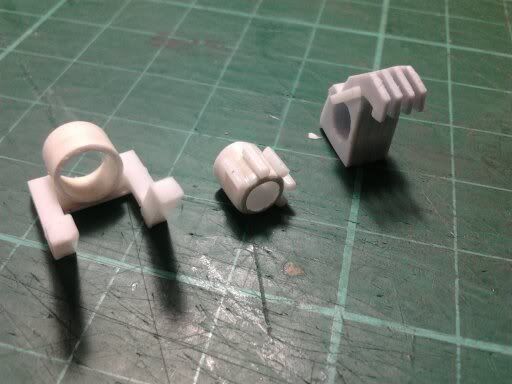
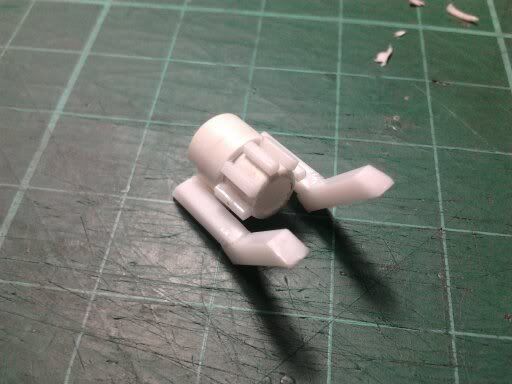
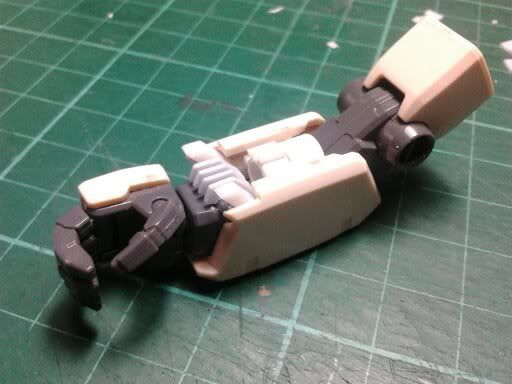
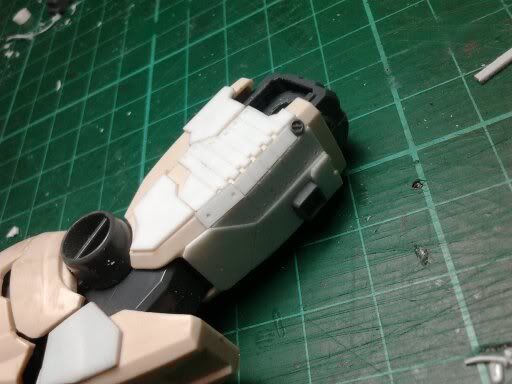
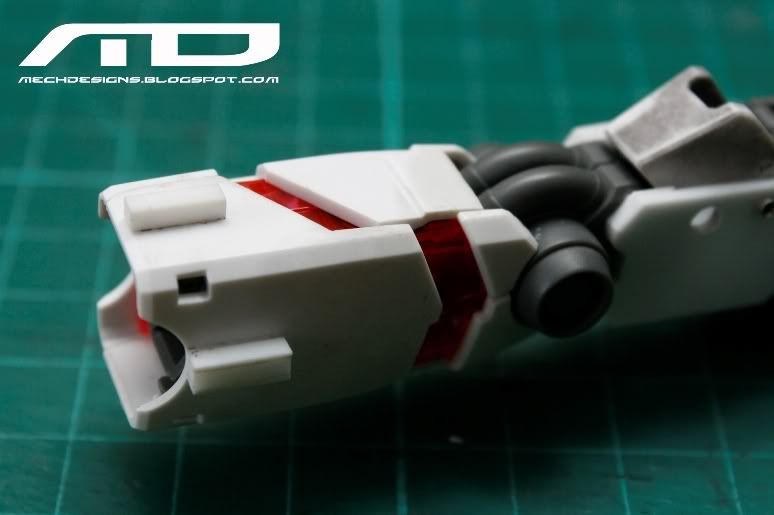
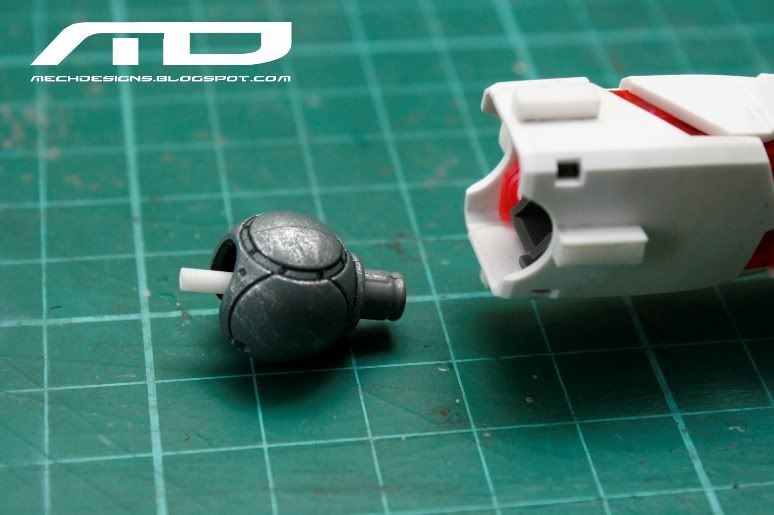
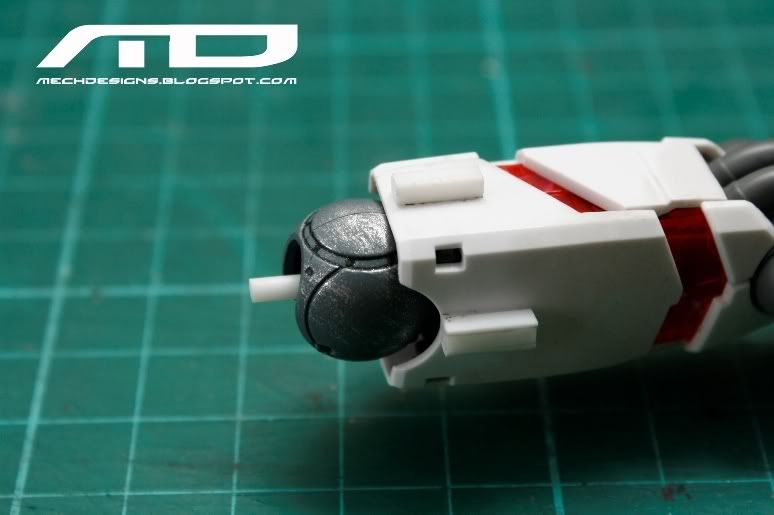
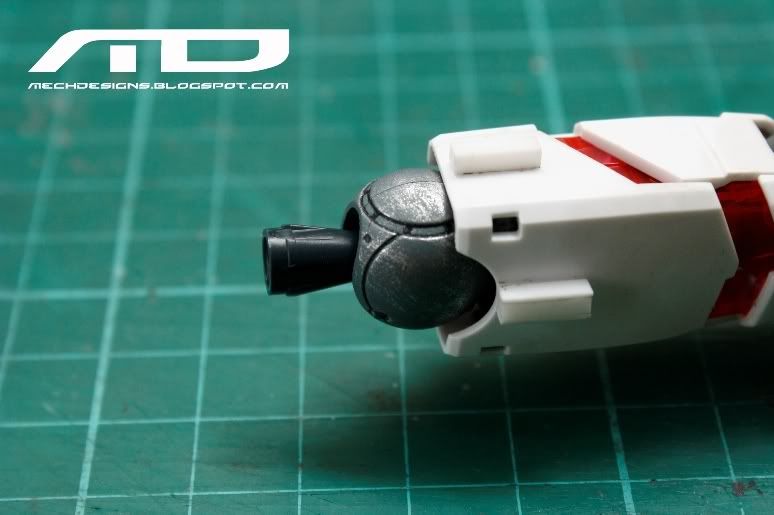
Besides applying pla-plates or putty to bulk a particular part of a kit, another way is by using the "inner-extension" method. (Yeah i just made that name up again) If you are an avid fan of WIP threads you might have seen this process before it is simply adding the pla plate or plastic beam on the inner connector rather than adding pla plate and putty, and after that you will encounter a monstrous sanding process. (Which i really hate!)
This inner-extension method will also create an illusion of part exposure, and just to take note this process is not applicable to all kits or concept i must say. this process require experience, research, patience and imagination. -_- ok i'll just the photos i'm being very talkative on this post already.


00 Uniqx Commision WIP IV
Kitbash level 2.
Parts:
Unicorn Thigh
Unicorn Arms
00q swords
Plastic Beam Square 2mm
Plastic Plates 1.2mm
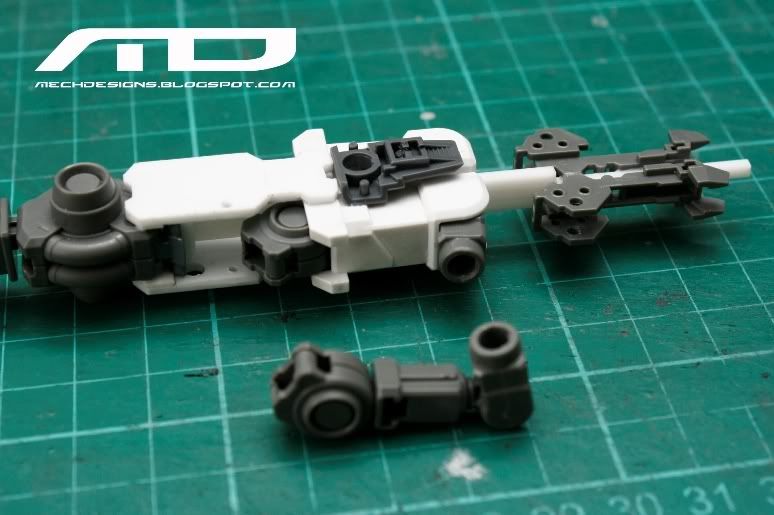
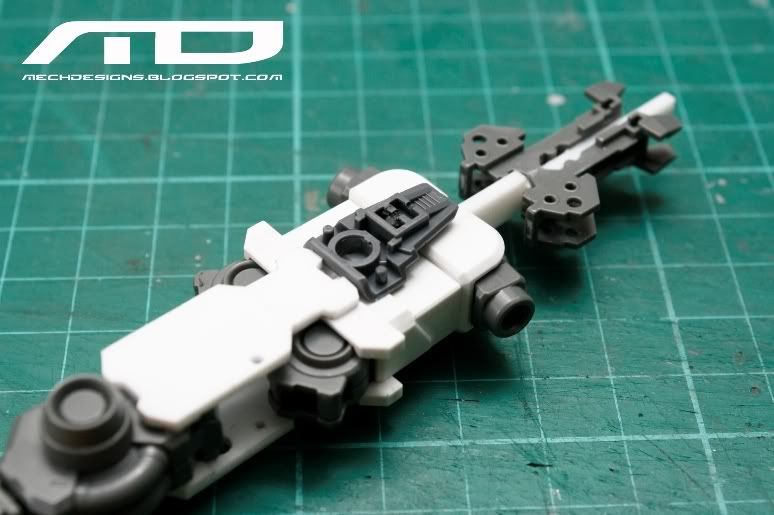
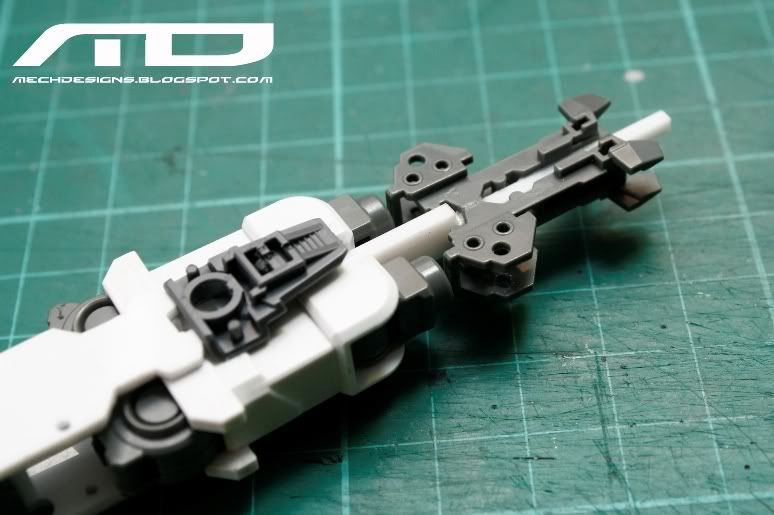
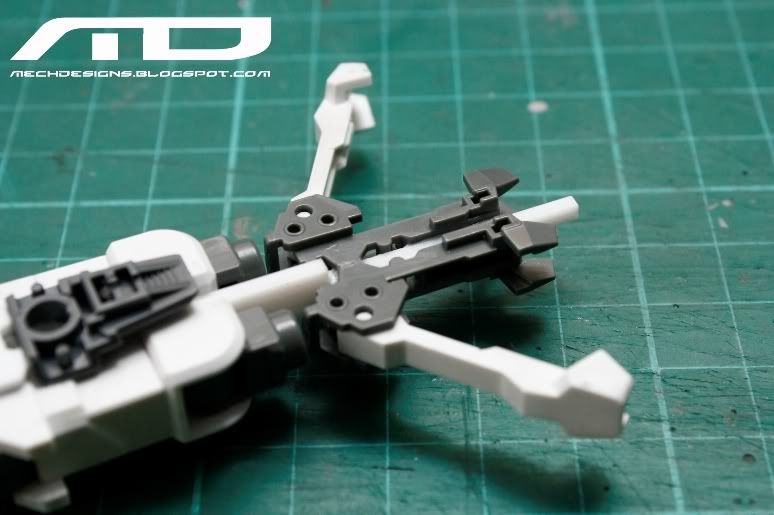
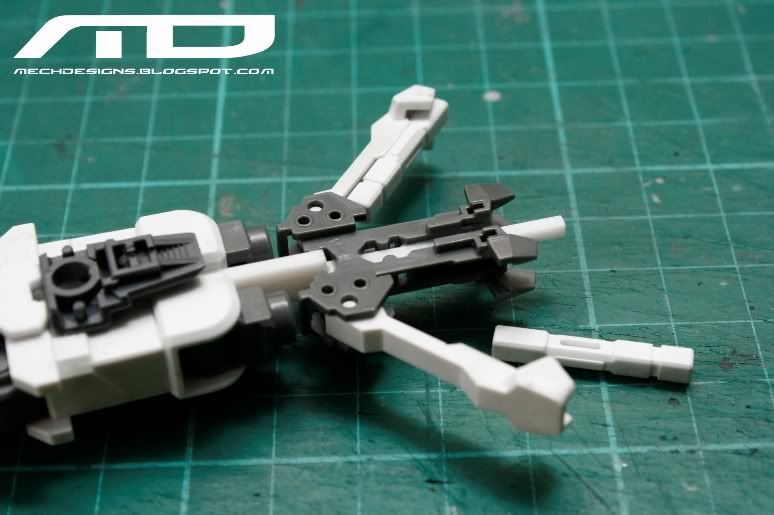
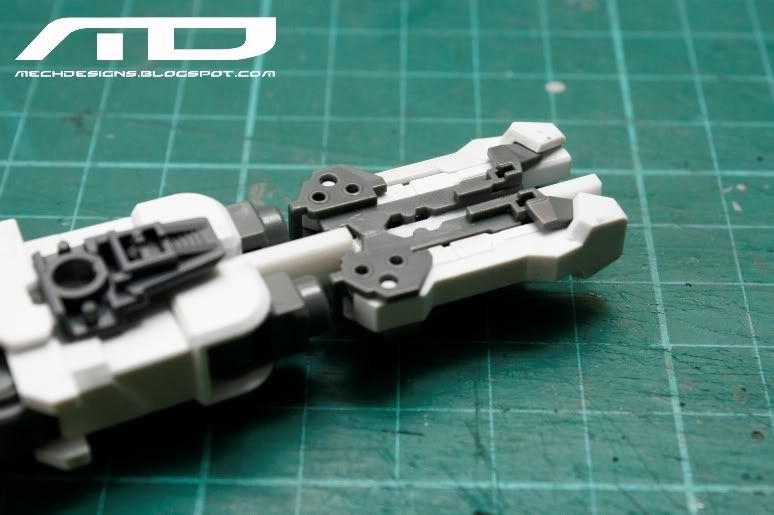
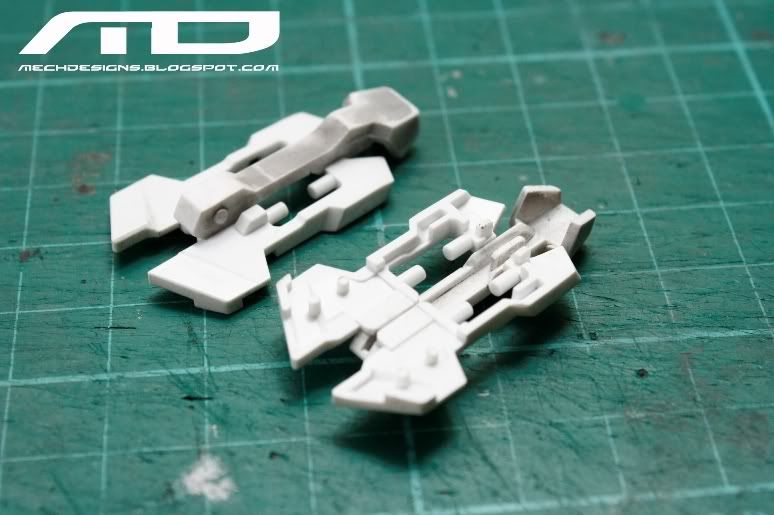
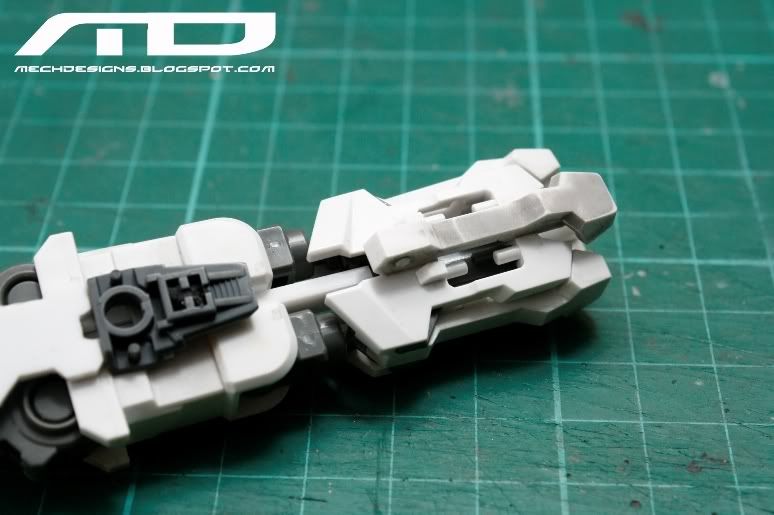
Since someone is eating the plastic beams in local hobby shop here, i have no choice but to use what i have and to push the kit bash process into level 2.
kitbash level 1: swapping & combining parts
kitbash level 2: combining parts, altering normal location of the part, using part for a different purpose.
ok, nevermind the kitbash levels, i just made that up :P
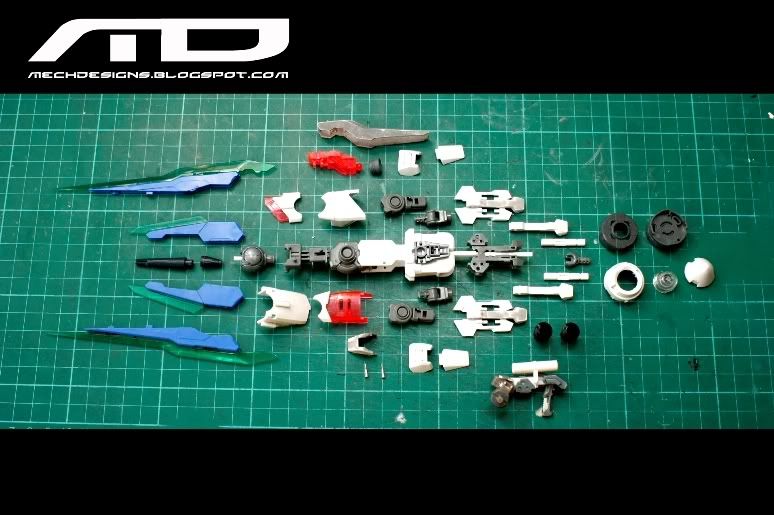
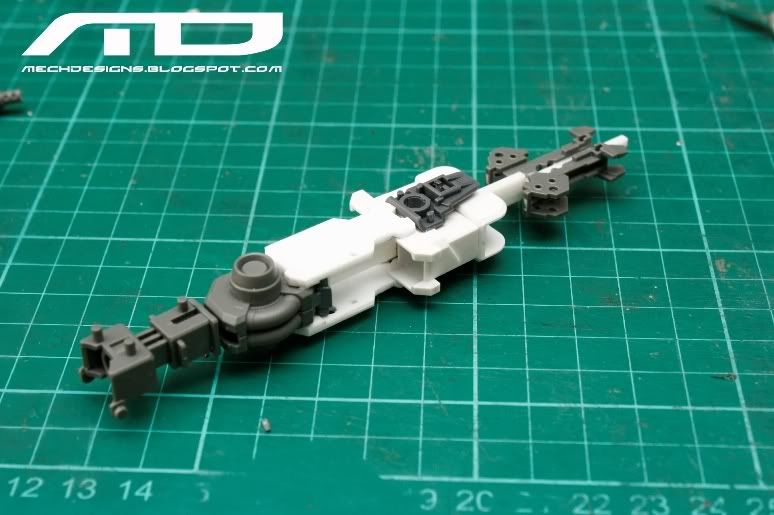
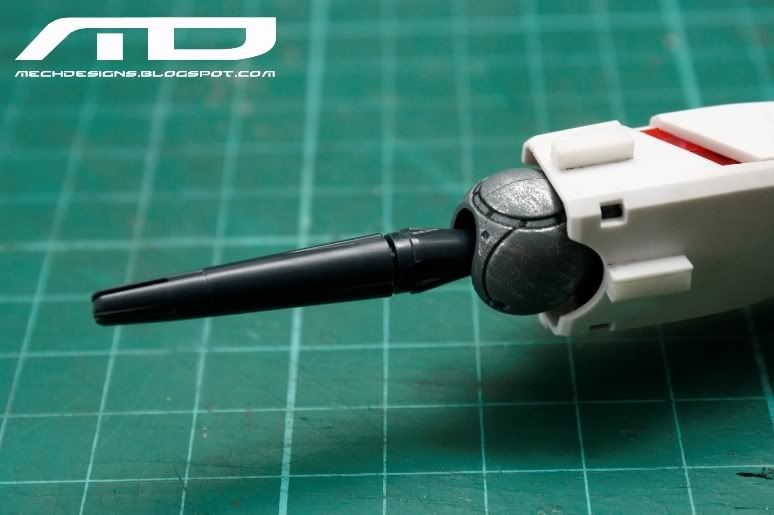
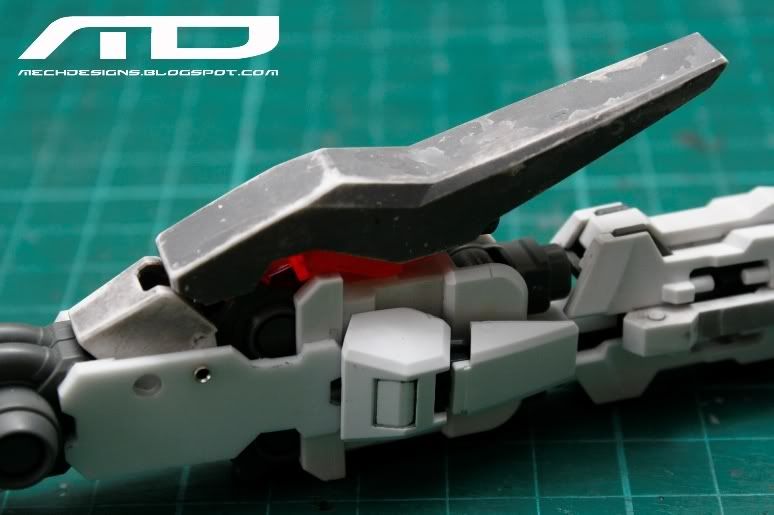
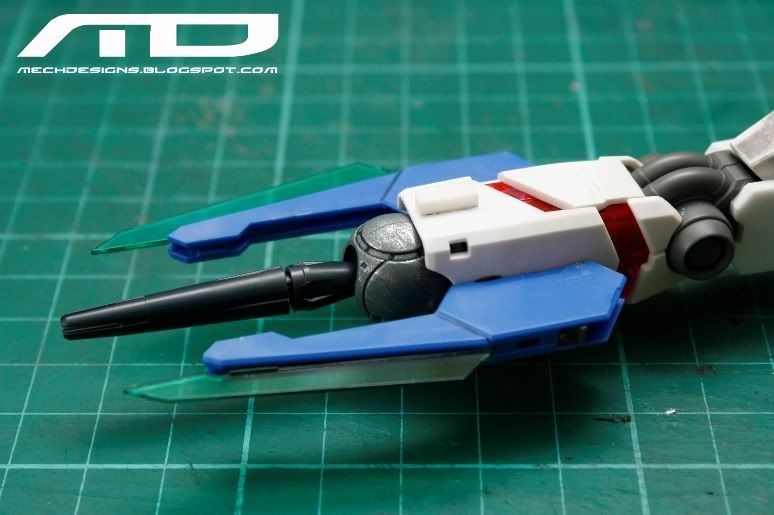
so again i'll just post photos of this WIP and let them do the talking, hope the client like the new BFG of this kit :)
i called this " GUNNILDR ESPADA"


Subscribe to:
Comments (Atom)


