Showing posts with label GP02A WIP. Show all posts

WIP BAKUC 2009 - GP02a Massacre Custom X

update: DIO churvaloo ek ek ek

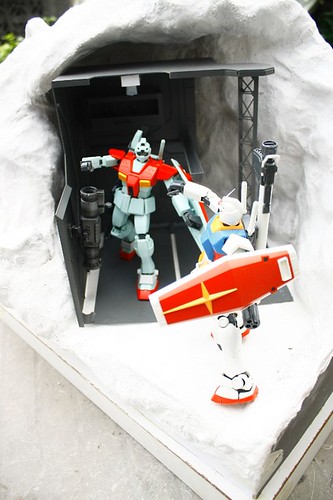
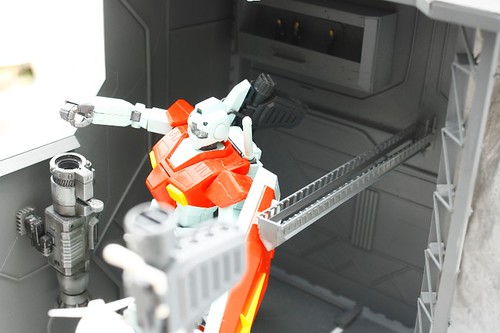
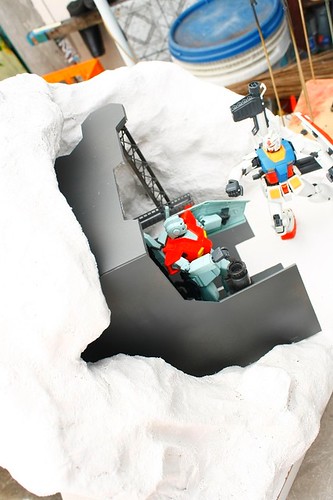
pre testing of dio with MG GM and RX-78 ver2


MG GM ver1 vs MG RX-78-2 ver 2.0


WIP BAKUC 2009 - GP02a Massacre Custom IX

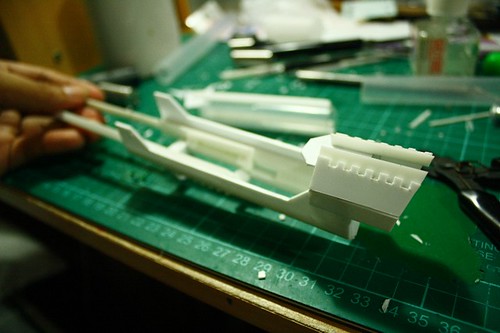
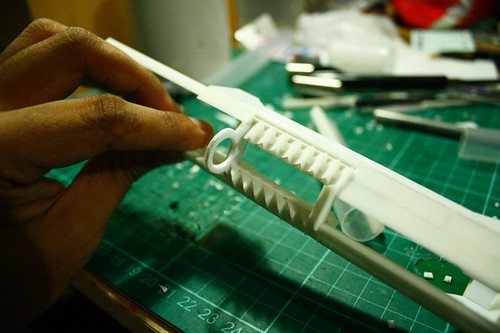
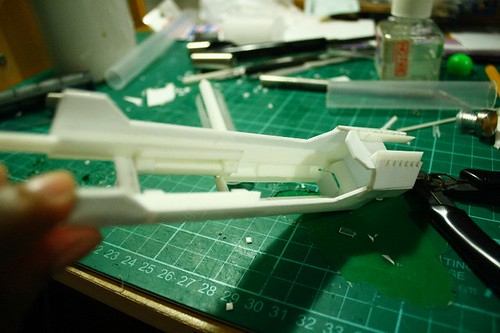
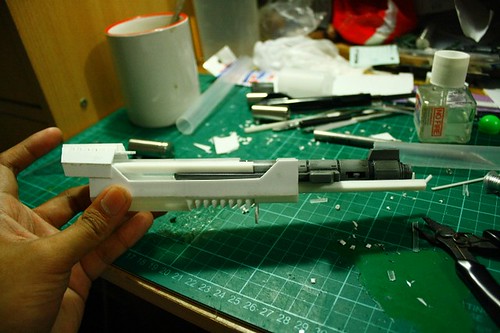
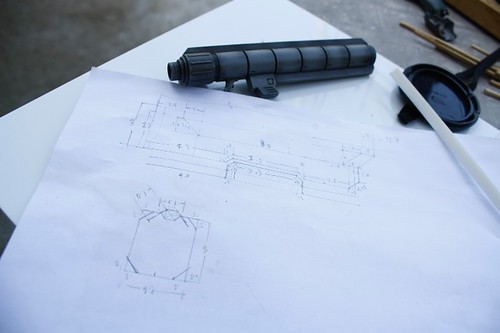
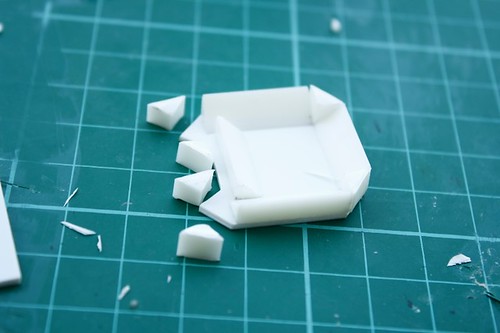
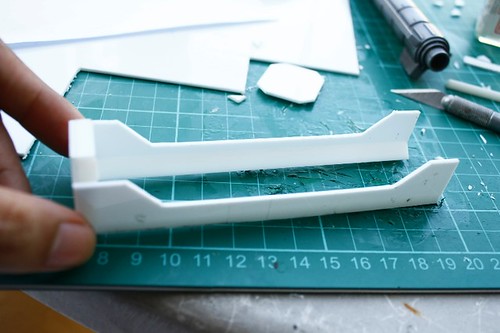
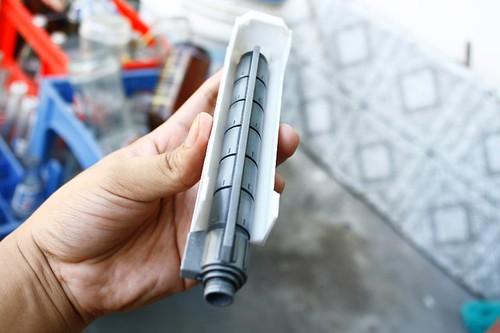
update: massacre cannon
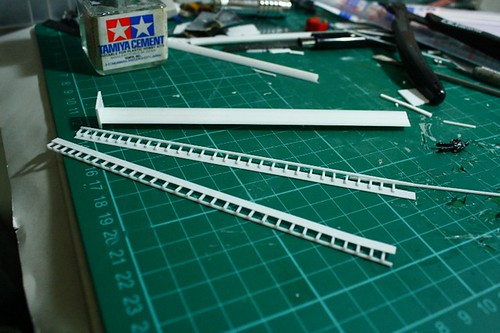
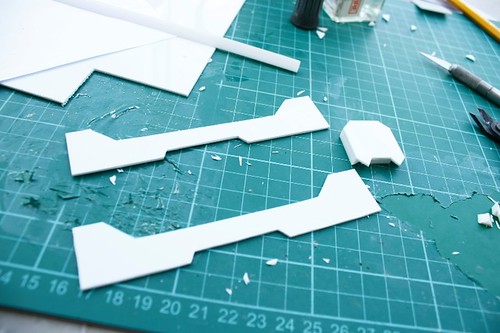
consist of
1.5 pla plates
1.0 pla plates
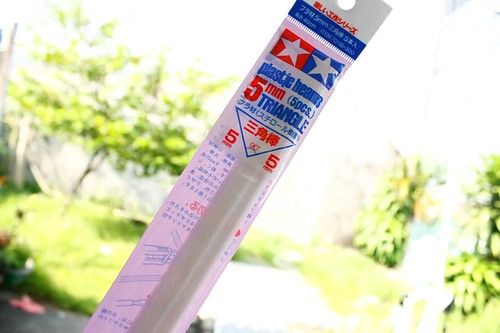
.5 triangle beam
.2 triangle beam

almost added 6cm in it's total length


test fit

WIP BAKUC 2009 - GP02a Massacre Custom VIII

update: body details


WIP BAKUC 2009 - GP02a Massacre Custom VII

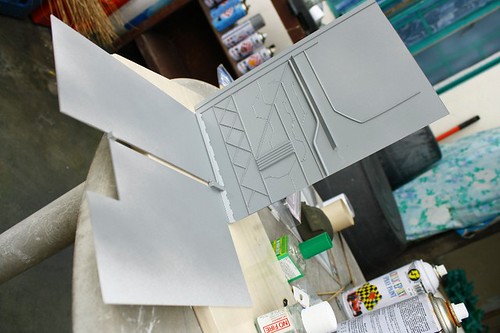
update: SB hangar

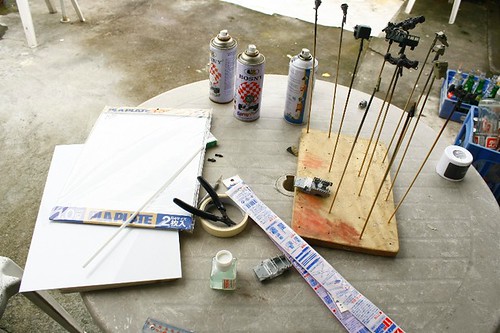
the tools and equips


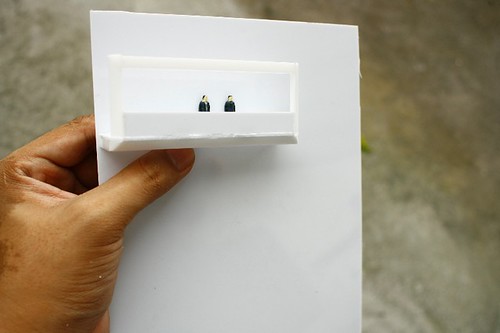
command post


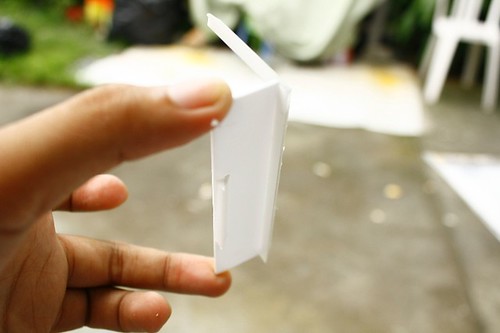
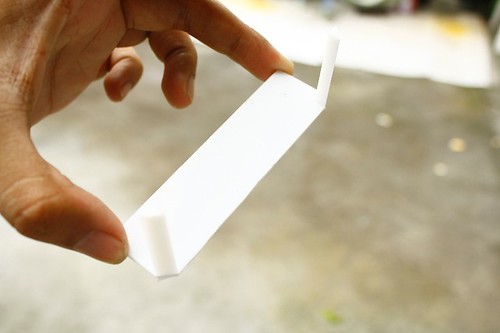
see the triangle beam? it will support the command post when attach to the wall


and for the latest weather forecast: :D


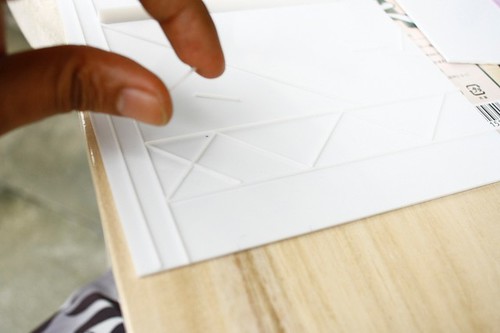
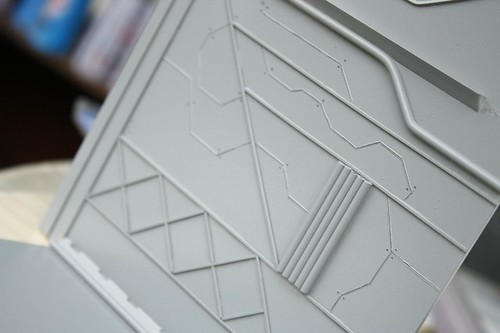
adding details


after priming


details


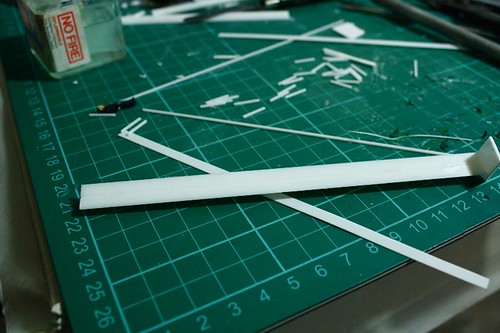
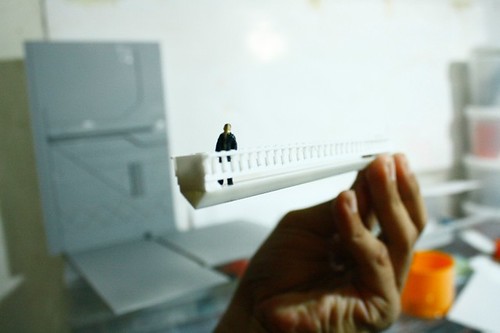
bridge


WIP BAKUC 2009 - GP02a Massacre Custom VI

updated: waist extender

SB waist i cut the small previous waist that is not proportion on the body and will rejoin them using a metal peg

added plaplates, putty and some details
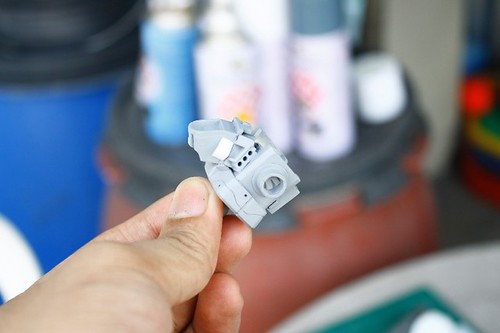


i change the ball connector and use a circle peg instead that fits exactly to the metal connector


use another metal part to give more sturdy connector
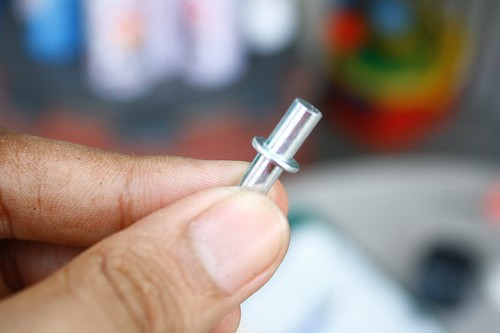


WIP BAKUC 2009 - GP02a Massacre Custom V

update: SB cannon


WIP BAKUC 2009 - GP02a Massacre Custom IV

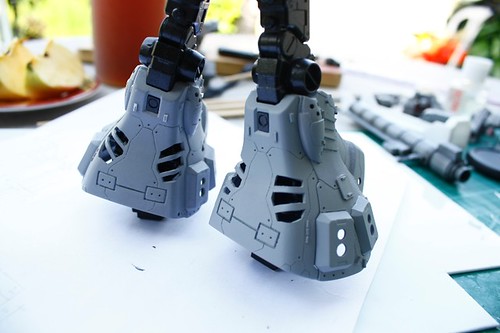
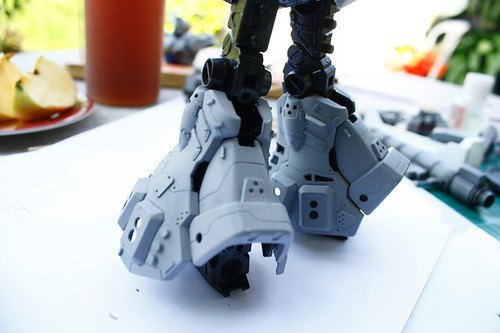
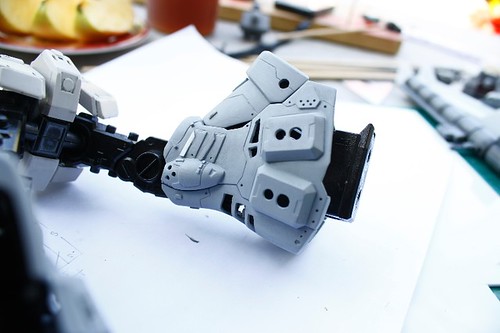
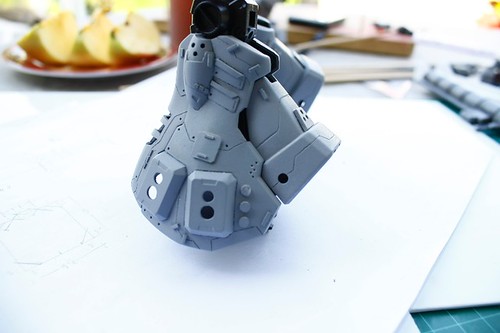
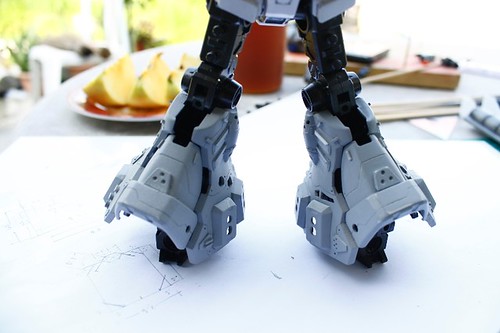
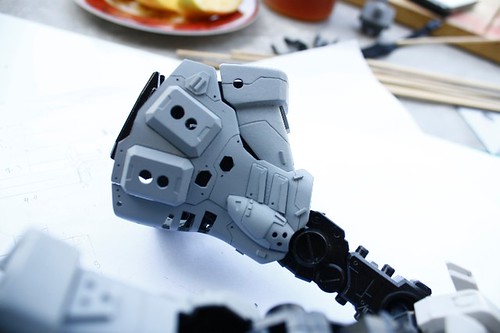
update: Leg fetish

details for the legs


as you may see that some details is not the same on both legs, well most of my works are always asymmetric designs.

going back to my current WIP. :wacko: will update soon

WIP BAKUC 2009 - GP02a Massacre Custom III

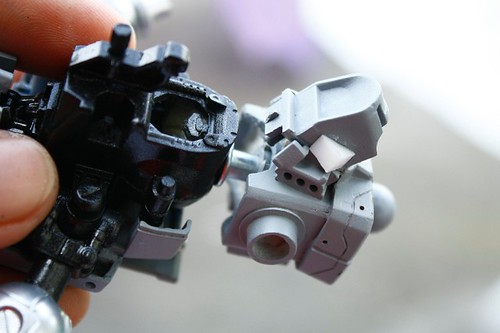
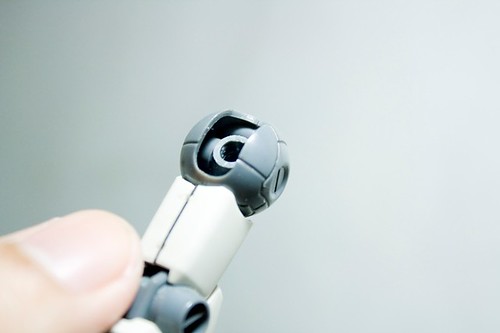
update: joint articulation fixing.

one main problem of this kit is the joint


because of this ball joint thingy that tend to loose (reason: would the ball joint will ever hold the Shield???

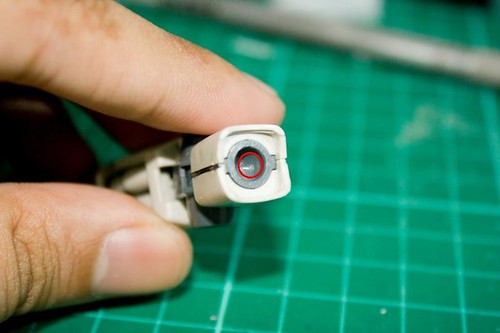
so i will be cutting that joint and replace it with metal/aluminum screw part


cut the balls (i mean the ball joint)


then bore a hole in the PC part that connects to the ball


the screw should be like this


positioning the parts


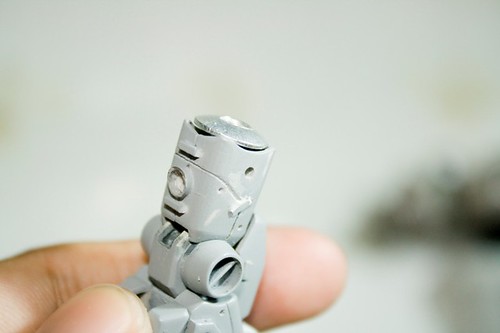
hole in the wall! i mean PC part


snap fit the screwhole (sounds funny) - and fits so tight


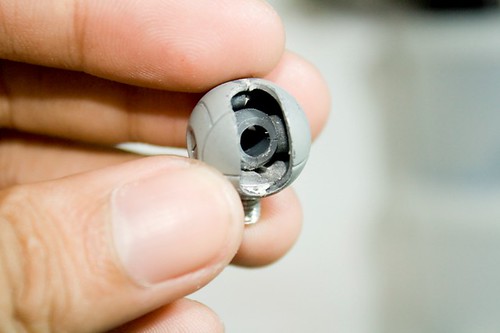
now for the other screw
trim the screw like shown below


the purpose of this is that to allow the connector to move freely inside


what yah think1? :wub:


it's a screw for your ball joint.